RMM & Monitoring
Remote Monitoring and Management for MSPs and IT professionals
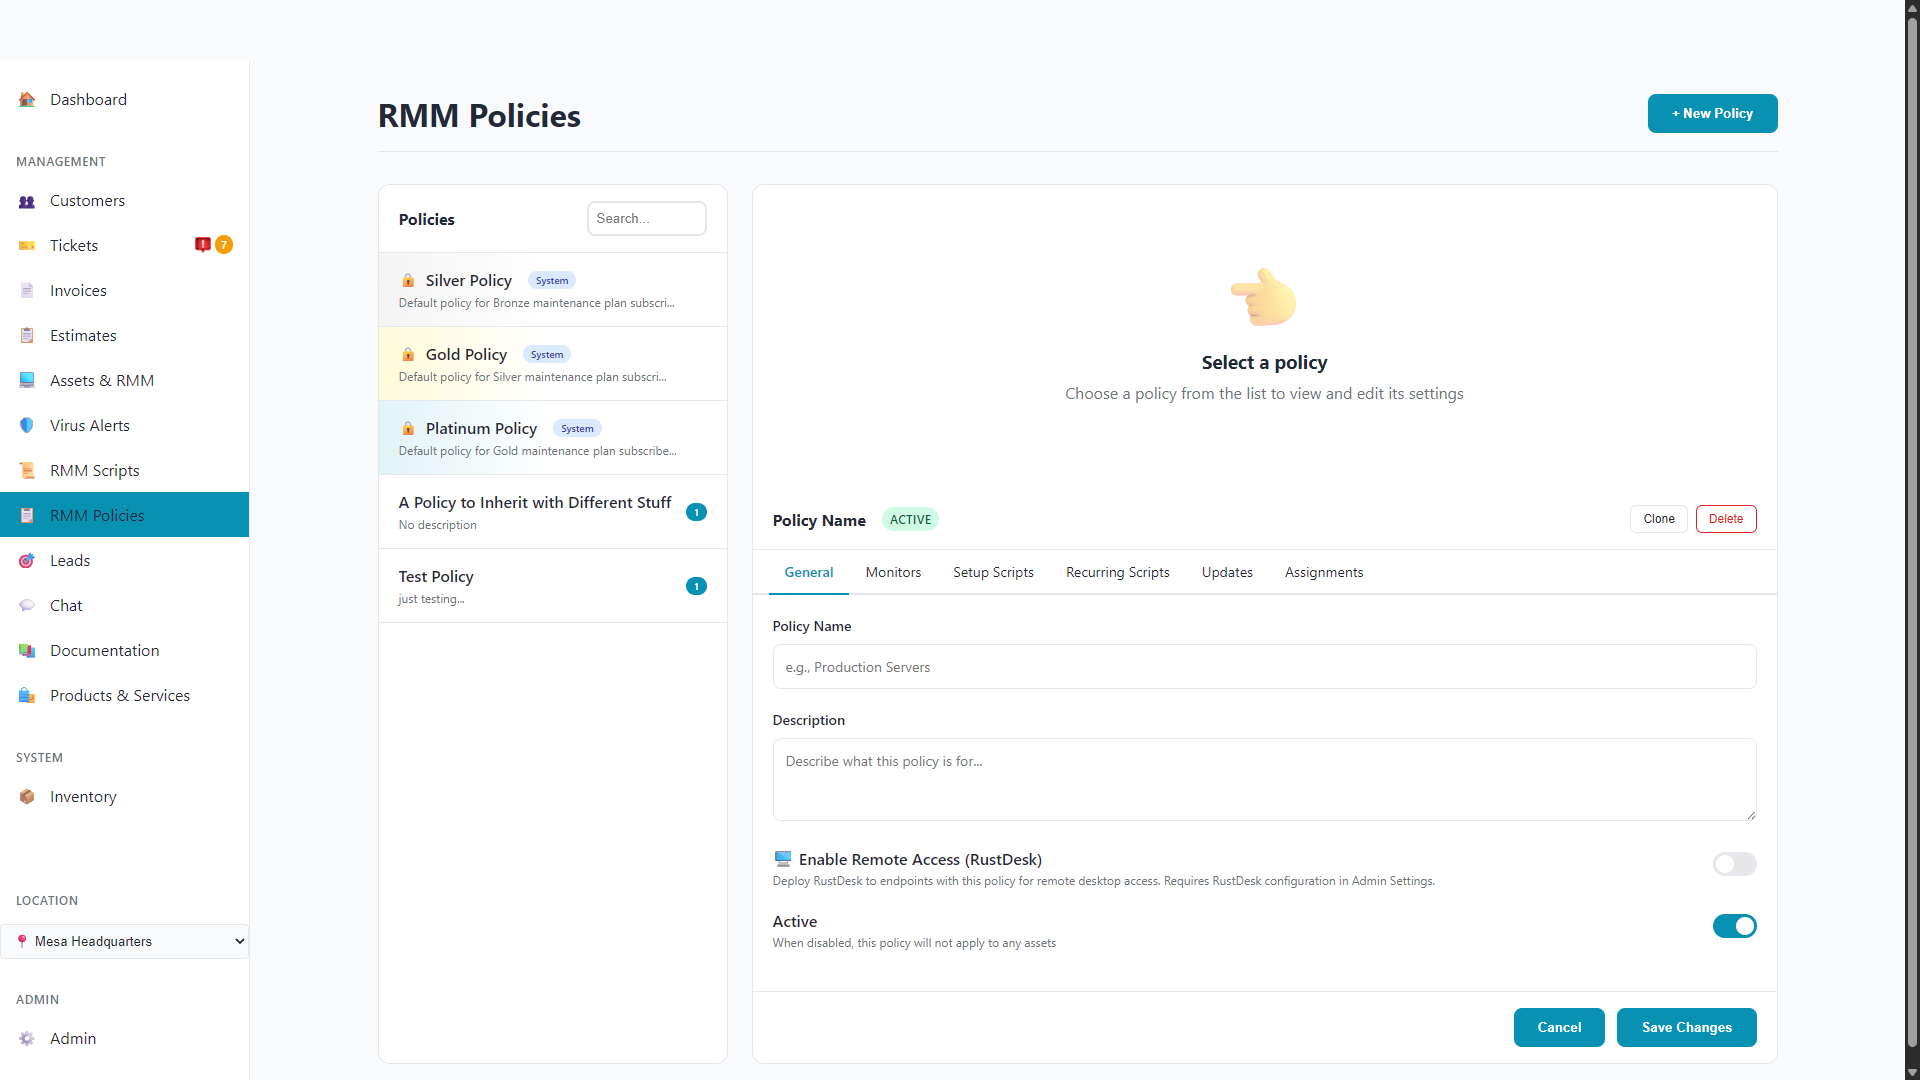
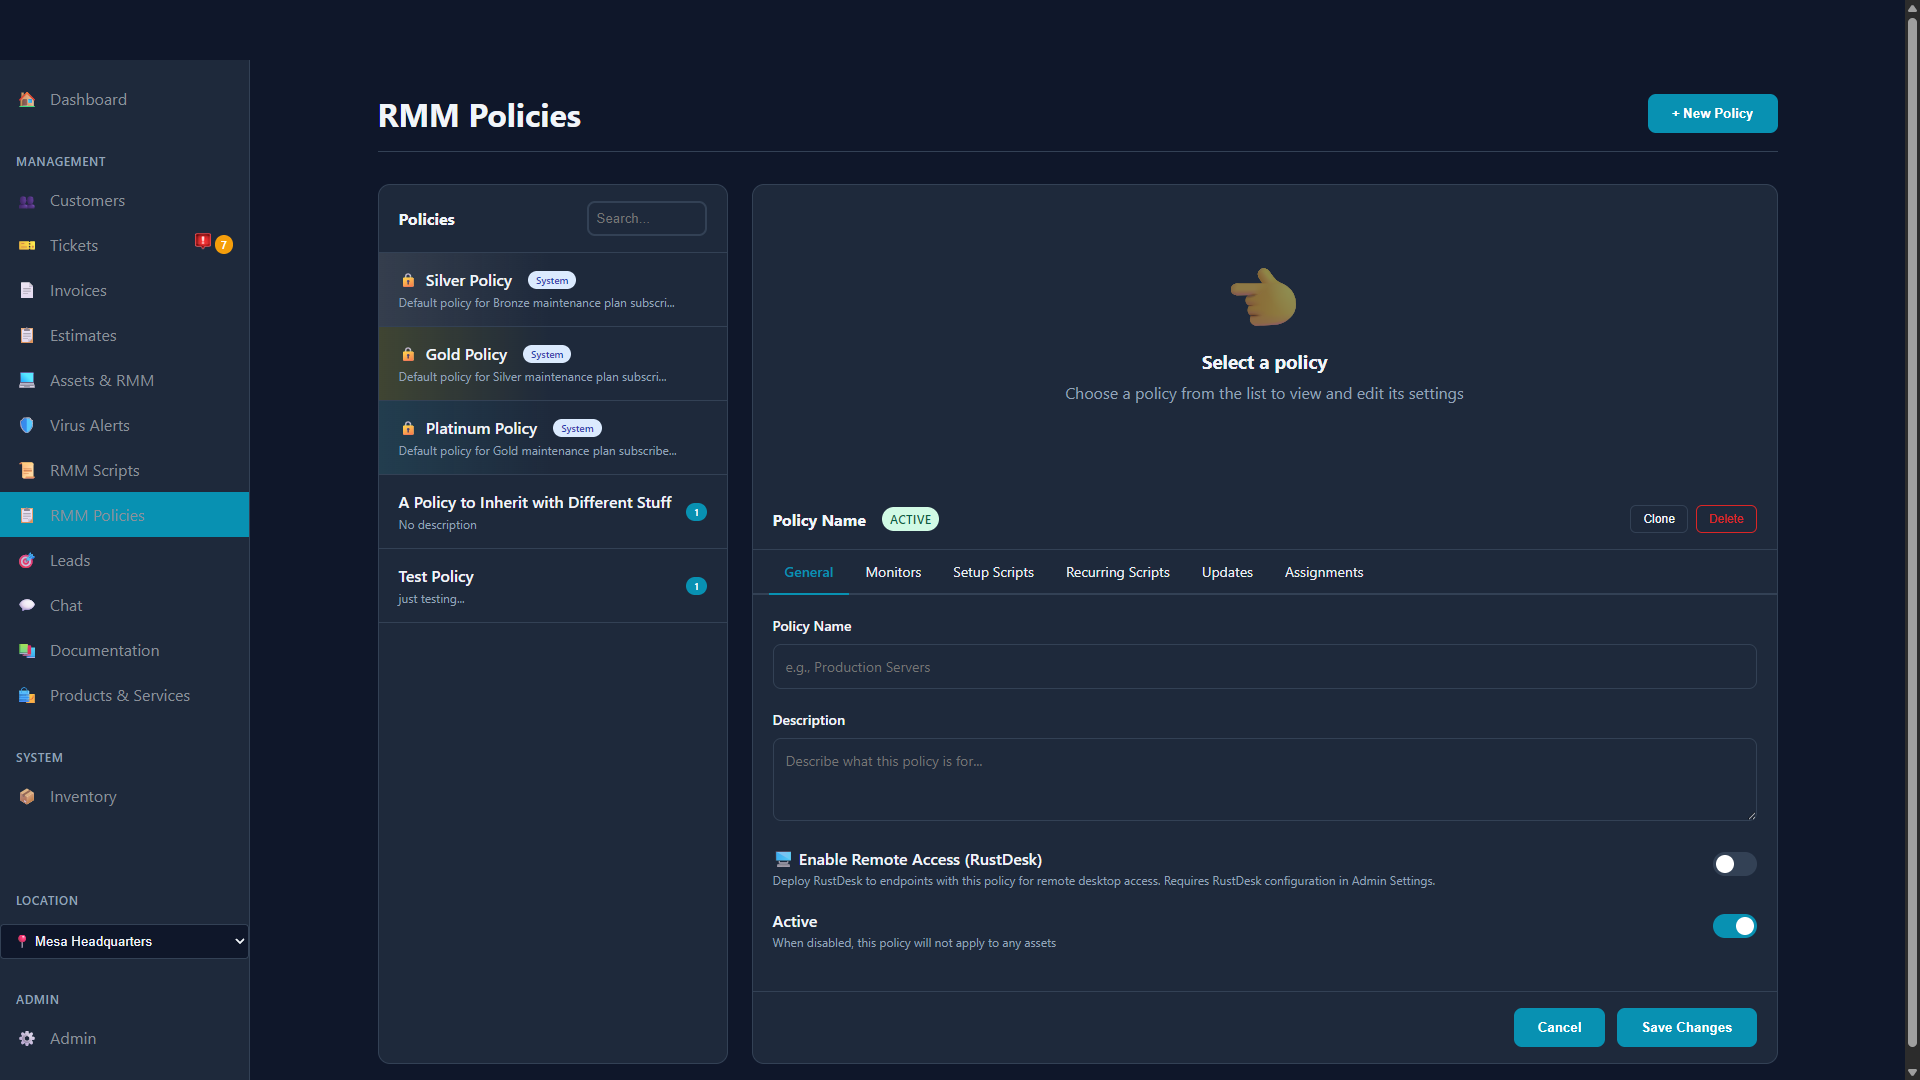
The RMM Policies interface for managing monitoring configurations
Overview
RAD Repairs includes a full Remote Monitoring and Management (RMM) platform built for Managed Service Providers (MSPs) and repair shops that offer managed services. Install the lightweight agent on your customers' Windows computers to monitor health and security, run scripts remotely, receive alerts, automate remediation, provide remote support, and offer cloud backup — all from the same system that handles your tickets, invoices, and customers.

Policies & Monitoring
Create monitoring policies with configurable thresholds for performance, stability, hardware, security, and Windows Defender. Assign them to customers, folders, or individual assets.

Script Automation
Run PowerShell, Batch, and Bash scripts on remote devices instantly over WebSocket. Build a reusable script library with runtime variables and attached files.

Alerts & Auto-Remediation
25 alert types covering malware, BSODs, disk failures, failed logins, and more. Build remediation rules that automatically run scripts, create tickets, or send emails when alerts fire.

Remote Access & Backup
Connect to managed devices with your own RustDesk or ScreenConnect infrastructure, and offer opt-in cloud backup powered by your own Comet Backup server.
The RMM Agent
The RAD RMM agent is a lightweight Windows service that runs on each managed computer. Once installed, it:
- Checks in every 5 minutes so you always know whether a device is online
- Syncs hardware inventory hourly - CPU, memory, storage, motherboard, BIOS, video cards, network, OS details, and more
- Collects installed software and missing Windows updates during each hardware sync, powering the Software Inventory and patch reports
- Maintains a persistent WebSocket connection for instant command delivery (scripts start within seconds on online devices), with automatic fallback to HTTP polling if the connection drops
- Monitors the system continuously based on the assigned policy and raises alerts in real time
- Auto-updates itself - the agent checks for new versions every hour and verifies every download with a SHA-256 checksum before installing, so your fleet stays current without any manual work
- Keeps the RMM Monitor tray app running in the logged-in user's session (checked every 10 minutes), giving your customers a branded way to reach you
- Runs in Safe Mode - the agent registers to start in Safe Mode and Safe Mode with Networking, so it keeps running and stays remotely manageable even when a machine is booted into safe mode (for example, during malware cleanup)
The agent currently supports Windows. There are no Mac or Linux agents at this time.
Installing the Agent
Agent installers are generated per customer, so every device automatically enrolls under the right account. To generate an installer:
Go to Customers, open the customer, and click the RMM button. You can generate an installer for the customer as a whole or for a specific asset folder (useful for separating offices, departments, or buildings).
Choose the plan level for devices enrolled with this installer: Calling Card, Bronze, Silver, or Gold. The plan determines billing and can be changed per asset later.
If Comet Backup is configured, you'll be asked whether this customer wants optional cloud backup. Ask the customer before answering - their choice is embedded in the installer, and devices enrolled with a backup-enabled installer automatically receive the backup client. The choice only applies to newly enrolled devices; it never changes existing assets.
Download the EXE installer (with the customer's enrollment token embedded) and run it on the customer's computer, or use the PowerShell deployment script for mass deployment via Group Policy, Intune, or another RMM you're migrating from. The device appears in Assets within minutes of first connection.
Can't get to the machine yourself? Click Copy Install Link instead of downloading. It creates a private, shareable link you can email to the customer; when they open it they get a simple branded page with a Download Installer button and short instructions — no login required. It installs the same customized agent for the right customer and folder, and the link expires after 30 days.
If Require Asset Approval is enabled in Admin Settings > RMM Settings, newly enrolled devices wait in a pending state until you approve them. You can also enable Auto-Approve Assets from Known IPs so re-enrollments from familiar networks skip the queue.
Customers can also sign up for a maintenance plan through the customer portal. The portal asks them the cloud backup question and generates a real installer bound to their account - no staff involvement needed.
Maintenance Plans
Every managed asset belongs to a maintenance plan tier: Calling Card, Bronze, Silver, or Gold. You can rename the tiers with custom display names in Admin Settings > RMM Settings to match your own service offerings.
- Automatic billing - plan pricing feeds recurring invoices, so managed devices are billed automatically each cycle
- Per-asset plans - change any asset's plan from its detail page with the Change Plan button
- Plan marketing - a public plans widget can be embedded on your website, and plan-specific email marketing is available in Admin Settings
RMM Policies
Policies define what to monitor and when to alert. Create policies for different device types or customer requirements, then assign them to customers, asset folders, or individual assets.
Managing RMM monitoring policies
Creating Monitoring Policies
To create a new monitoring policy:
Go to RMM > Policies in the main navigation, then click New Policy.
Enter a descriptive name for the policy (e.g., "Standard Workstation Monitoring" or "Server Critical Alerts"). Add a description explaining the policy's purpose. You can also enable RustDesk and/or ScreenConnect remote access deployment if those tools are configured in the App Center.
Enable monitors and set thresholds in categories: Performance, Stability, Hardware, Security, and Windows Defender. See the Monitors section below for details.
Optionally add setup scripts (run when policy is first applied) and recurring scripts (run on schedule). Configure Windows Update settings.
Available Monitors
Each policy can enable monitors across five categories with configurable thresholds:
Performance Monitors
| Monitor | Description | Default Threshold |
|---|---|---|
| High CPU Usage | Alert when CPU consistently exceeds threshold | 90% |
| Low Memory | Alert when available memory falls below threshold | 10% free |
| Low Disk Space | Alert when free disk space falls below threshold | 10% free |
| Offline Detection | Alert when asset stops checking in | 30 minutes |
Stability Monitors
| Monitor | Description |
|---|---|
| Application Crashes | Detect application crashes via Windows Event Log |
| Blue Screen (BSOD) | Detect system crashes and unexpected shutdowns |
| High Uptime Alert | Alert when system hasn't been rebooted (configurable days) |
Hardware Monitors
| Monitor | Description |
|---|---|
| Device Manager Errors | Detect driver and device errors |
| HD SMART Failure | Detect hard drive SMART warnings and failures |
| Disk Fragmentation | Alert when HDD fragmentation exceeds threshold |
Security Monitors
| Monitor | Description |
|---|---|
| Firewall Disabled | Alert when Windows Firewall is turned off |
| Failed Login Attempts | Alert on multiple failed login attempts (configurable threshold per hour) |
| New User Created | Alert when new local user accounts are created |
Windows Defender Monitors
| Monitor | Description |
|---|---|
| Real-time Protection Disabled | Alert when Windows Defender real-time protection is turned off |
| Malware Detected | Alert when Windows Defender detects malware or threats |
| Malware Action Failed | Alert when Defender fails to quarantine or remove a threat |
| Definitions Outdated | Alert when virus definitions are out of date (configurable days) |
| Scan Error | Alert when a Defender scan fails or encounters an error |
Custom Monitors
Beyond the built-in monitors, each policy's Monitors tab has a Custom Monitors section for tenant-defined watchdogs — ideal for line-of-business software the built-ins don't know about (a POS service, a backup job, a critical app):
- Windows Service — alert when a named service is stopped or not installed (e.g.
Spooler) - Process — alert when an executable is not running (or, inverted, when it is running)
- Event Log — alert when a specific event ID appears in the System, Application, or Security log (optionally filtered by source)
- Resource Threshold — alert when CPU or memory usage rises above, or disk free space falls below, a percentage you set
Each monitor can automatically create a ticket at your chosen priority and/or email your business address the first time it fires. Repeat detections roll into the same alert with an occurrence count instead of spamming. Custom monitors are additive across the policy hierarchy and reach agents with their hourly policy refresh — requires agent v1.17.0 or newer.
Assigning Policies
Policies can be assigned at three levels:
- Customer Assignment - Assign a policy to a customer to cover all their assets
- Folder Assignment - Assign a policy to an asset folder (e.g., "Servers" or "Front Office") to override the customer default for that group
- Asset Assignment - Assign a policy directly to a single asset when it needs special handling
- View Assignments - Open a policy and check the "Assignments" tab to see which customers and folders are using it
When multiple assignments apply, the most specific one wins: a policy assigned directly to an asset overrides its folder's policy, which overrides the customer's policy.
Asset Folders
Each customer's assets can be organized into folders. Folders are useful for:
- Separating locations, departments, or device types (e.g., "Warehouse PCs", "Servers")
- Applying a different policy to a group of devices via folder assignment
- Generating folder-specific installers so new devices enroll directly into the right folder
RMM Scripts
Execute PowerShell, Batch, and Bash scripts on remote devices for automation, maintenance, and troubleshooting. Build a library of reusable scripts with runtime variables and attached files.
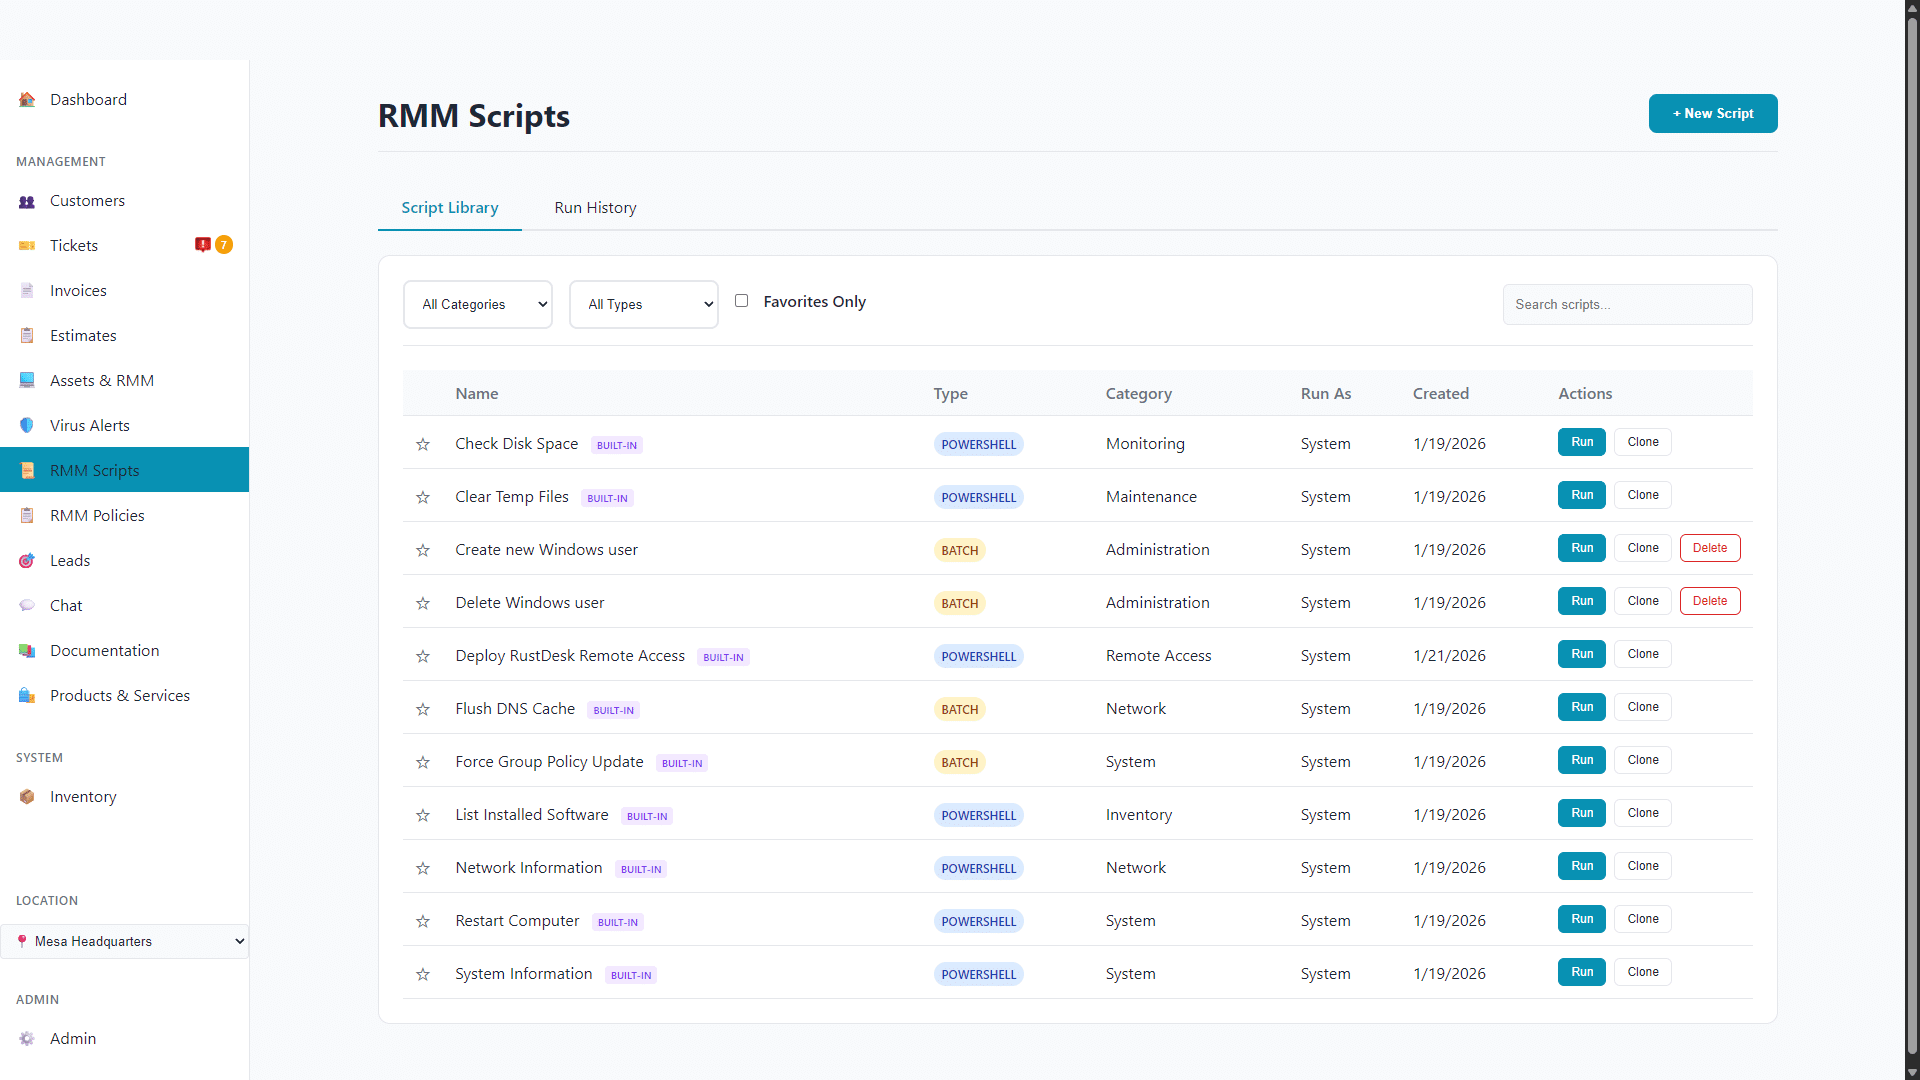
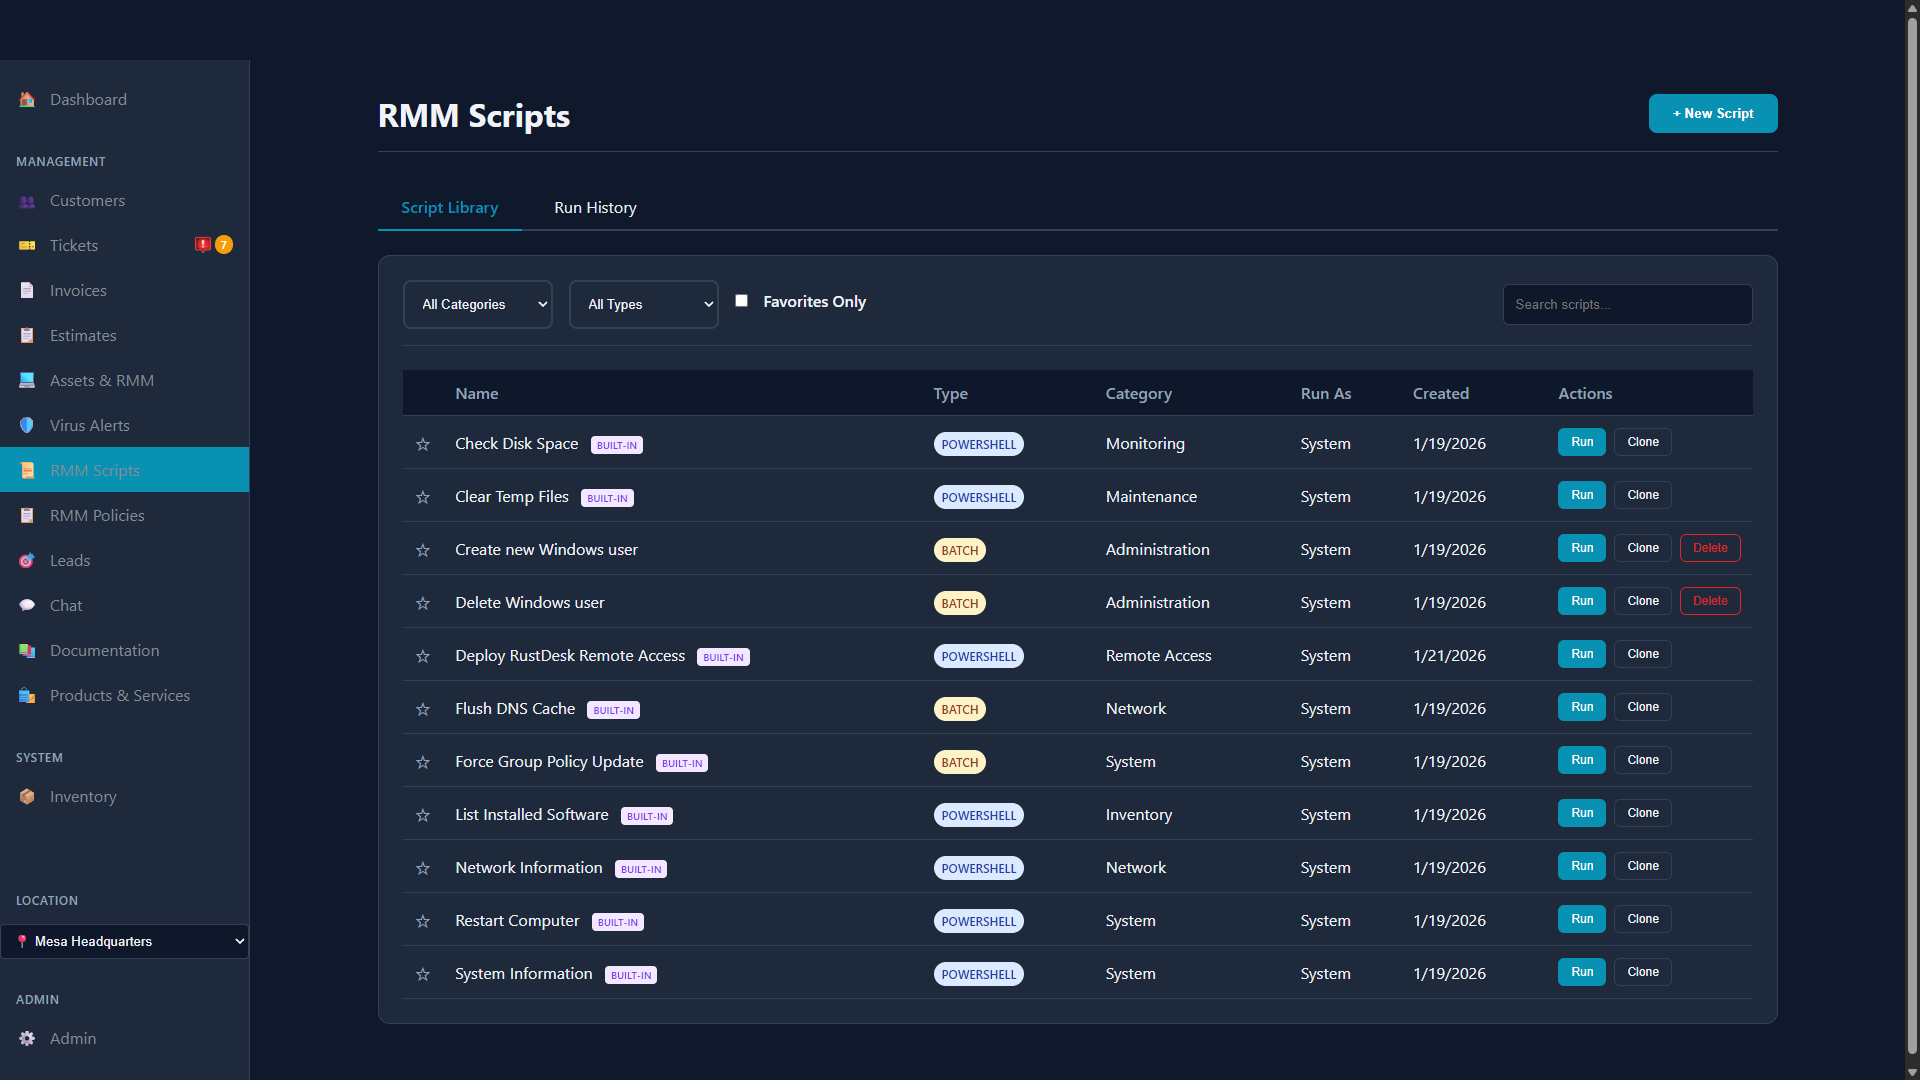
The RMM Scripts library for managing automation scripts
Supported Script Types
| Language | Use Cases |
|---|---|
| PowerShell | Windows Update management, software installation, registry changes, system configuration |
| Batch (.bat) | Simple command-line tasks, legacy script support |
| Bash | Requires a bash environment on the target device (e.g., Git Bash or WSL) |
Script Library
The script library stores your automation scripts for reuse. Each script includes:
- Name - Descriptive name for quick identification
- Description - Explanation of what the script does
- Category - Organize scripts by purpose (Maintenance, Security, Cleanup, etc.)
- Script Type - PowerShell, Batch, or Bash
- Script Content - The actual script code with syntax highlighting
- Runtime Variables - User-provided inputs when running the script (text, number, dropdown, checkbox, password)
- Required Files - Attach files from the File Library (installers, config files) that the agent downloads before running the script; downloads are SHA-256 verified
- Run As - Execute as System account or logged-in user
- Timeout - Maximum execution time in seconds (default 300)
- Favorites - Mark frequently used scripts for quick access
RAD Repairs includes built-in scripts for common tasks. Built-in scripts are marked with a "BUILT-IN" badge and cannot be edited, but you can clone them to create customized versions.
File Library
The File Library tab on the Scripts page stores files your scripts need - software installers, configuration files, license files, and so on. Attach files to a script as Required Files, and each agent downloads and verifies them (SHA-256 checksum) before the script executes.
Running Scripts
Run On-Demand
- Go to RMM > Scripts in the main navigation
- Find the script you want to run and click the Run button
- Select one or more assets from the asset selector (you can search and filter)
- Fill in any runtime variables if the script requires them
- Optionally check "Skip Offline Assets" to avoid queuing for offline devices
- Click Execute Script
Online devices receive the command instantly over the agent's WebSocket connection and typically start executing within seconds. Offline devices run the script when they next check in (unless skipped). You can also run a script on a single device from its asset detail page.
For ad-hoc, one-off runs you don't need a policy at all: on the Assets page you can select multiple devices and use Run Script, Reboot, or Broadcast a message to all of them at once. See Assets & RMM > Bulk Actions on Devices.
Scripts in Policies
Scripts can be attached to policies in two ways:
Setup Scripts
Run when an asset first receives the policy or based on conditions:
- Always - Run every time the agent checks in
- If Never Run - Run only once per asset
- If Not Run Within - Run if the script hasn't executed within a specified number of days
Recurring Scripts
Run on a schedule for all assets with the policy:
- Hourly - Run at a specific minute each hour
- Daily - Run once per day at a specified time
- Weekly - Run on specific days of the week
- Monthly - Run on a specific day of the month
- Manual Only - Only run when manually triggered
Run History
View script execution results in the Run History tab:
- Status - Pending, Running, Completed, Failed, Timeout, or Cancelled
- Exit Code - The script's exit code (0 typically indicates success)
- Duration - How long the script took to execute
- Standard Output - The script's console output
- Standard Error - Any error messages
Filter history by status and paginate through results. Click on any run to view detailed output. Each asset's detail page also shows a Script History tab scoped to that device.
Alerts
The agent raises alerts for 25 different event types across performance, stability, hardware, security, and Windows Defender categories - everything from malware detections and BSODs to SMART disk warnings, failed logons, RDP logons, pending reboots, service crashes, and admin group changes. Which alerts fire on a given device is controlled by its assigned policy.
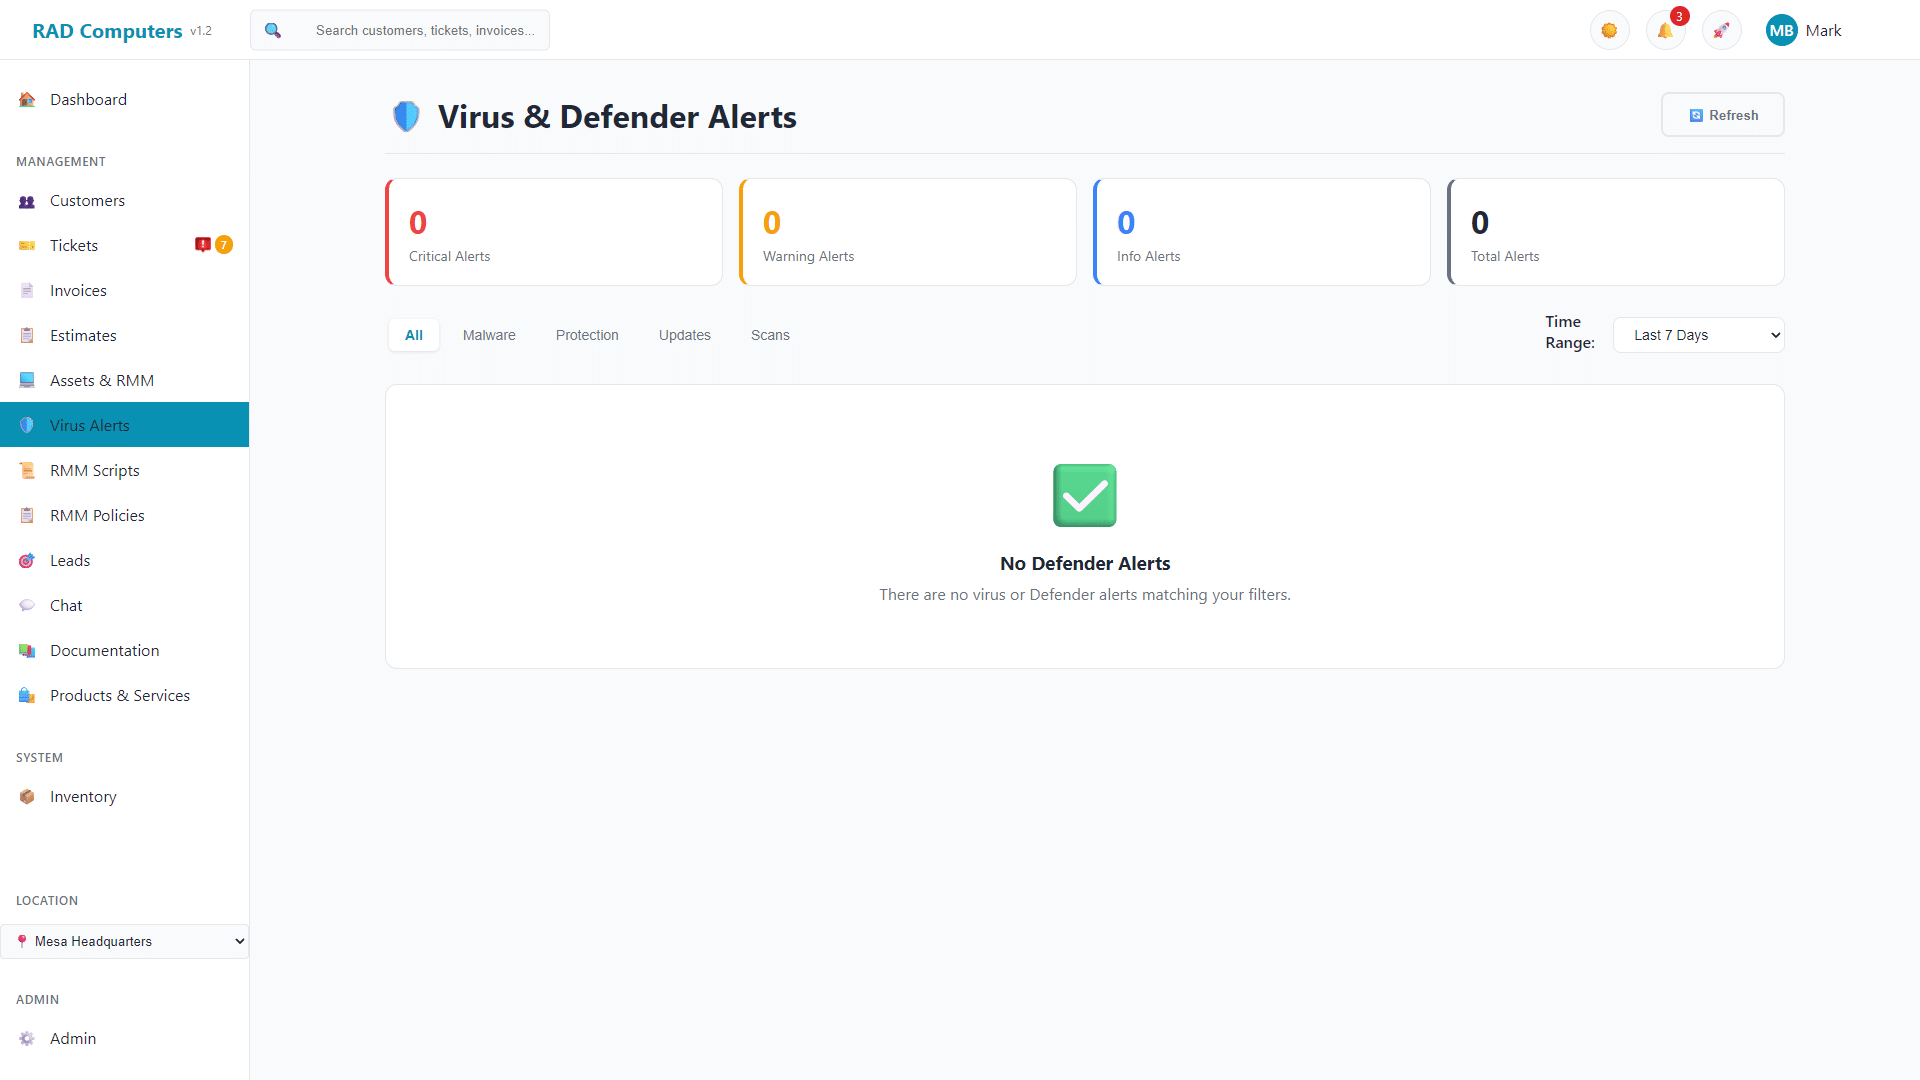
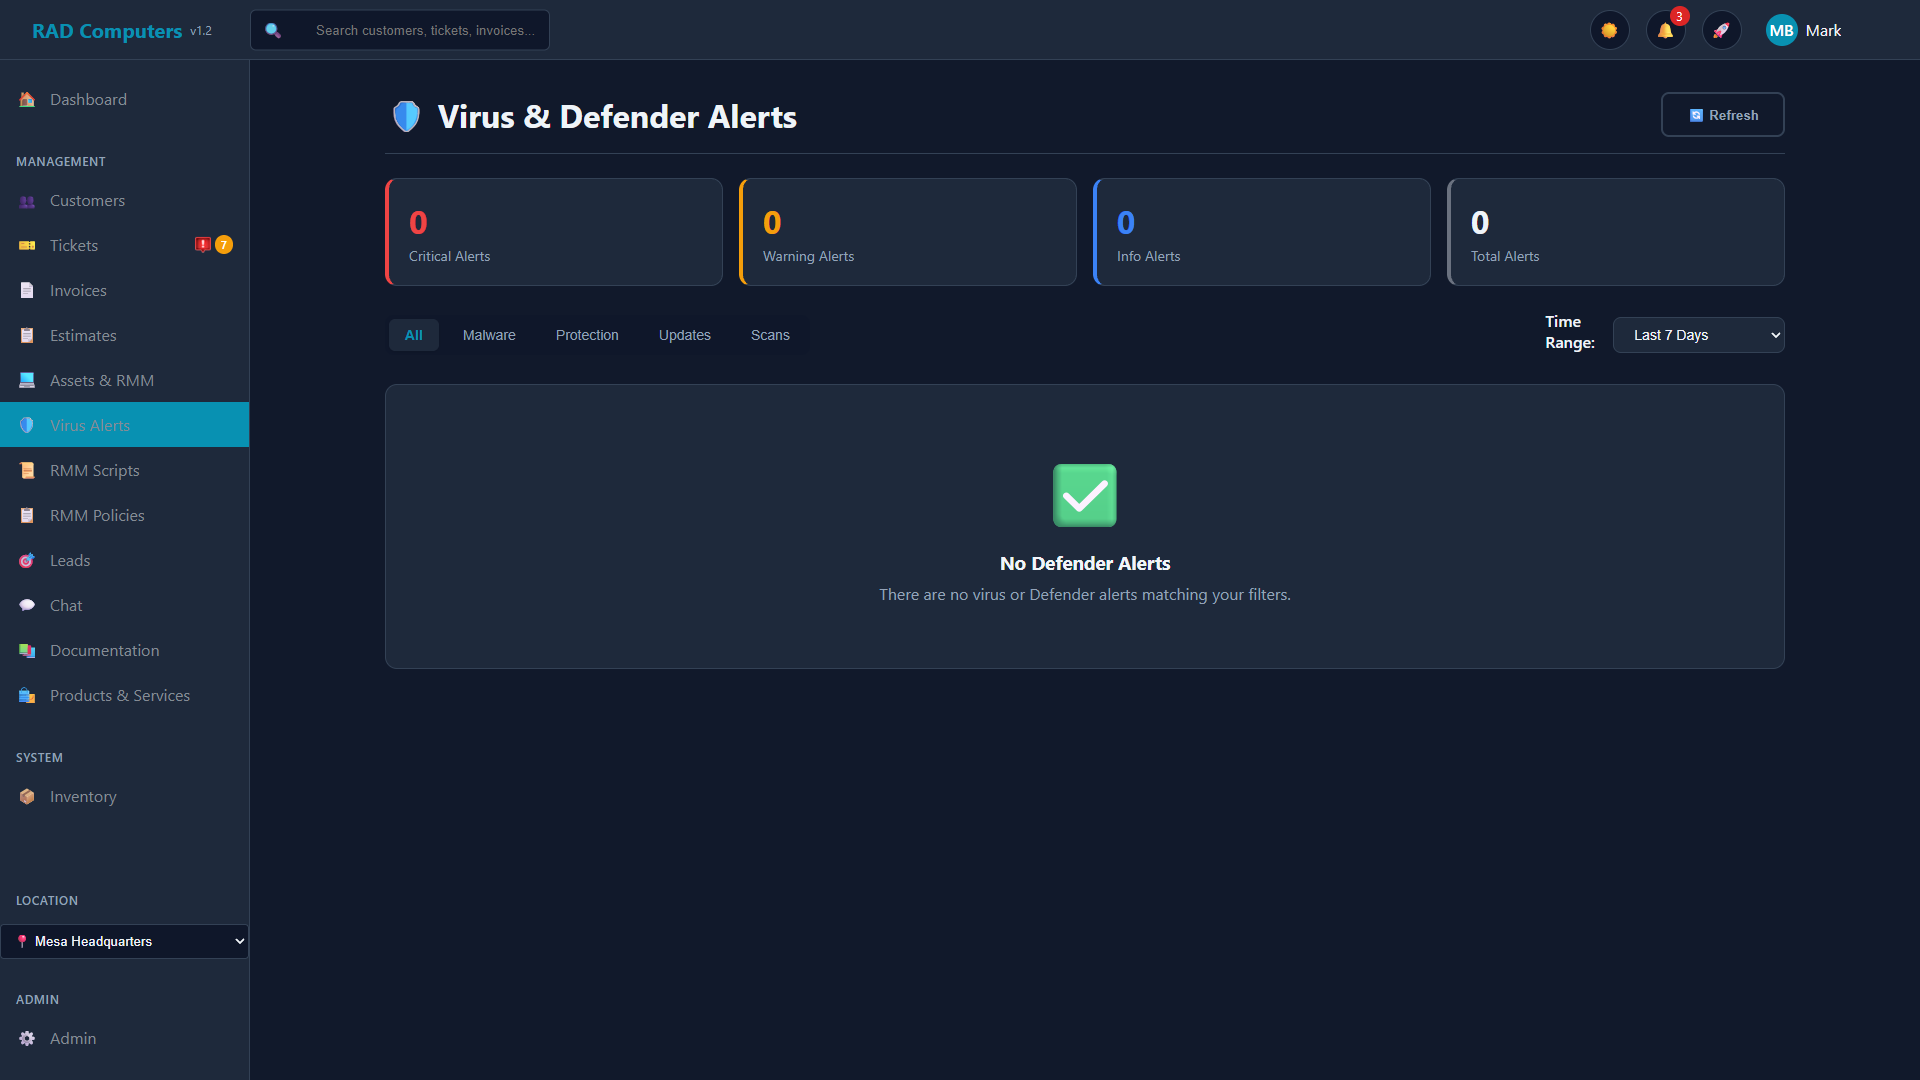
The Virus & Defender Alerts dashboard
Virus & Defender Alerts Page
The Virus Alerts page gives you a security-focused view of the fleet:
- Malware Detection - Alerts when Windows Defender detects malware or threats
- Protection Status - Alerts when real-time protection is disabled or the Defender service stops
- Definition Updates - Alerts when virus definitions are outdated
- Scan Errors - Alerts when Defender scans fail or encounter errors
Security monitoring is built on Windows Defender, which is present on every Windows device. Third-party antivirus products are not monitored.
Alert Information
Each alert displays:
| Field | Description |
|---|---|
| Severity | Critical, Warning, or Info based on alert type |
| Alert Type | Malware, Protection, Updates, or Scan category |
| Title & Message | Description of the security event |
| Asset | Which device triggered the alert (links to asset detail) |
| Customer | Customer the device belongs to |
| Time | When the alert was detected |
| Occurrence Count | Number of times this alert has occurred |
Filtering and Managing Alerts
- Summary Cards - Quick view of critical, warning, and info alert counts
- Filter Tabs - Filter by All, Malware, Protection, Updates, or Scans
- Time Range - View alerts from last 24 hours, 7 days, 30 days, or all time
- View Asset - Click to navigate to the asset detail page
- Resolve - Mark an alert as resolved to remove it from the active list
Alerts also appear on each asset's detail page, and can trigger automatic actions through Automated Remediation (below).
Automated Remediation
The Remediation page lets you build rules that respond to alerts automatically - fix common problems, open tickets, and notify people without a technician touching anything. Rules cover both agent alerts and Comet backup failure alerts.
How Rules Work
Each rule has a set of conditions and a set of actions. When a new alert matches ALL of a rule's conditions, its actions run automatically.
Conditions
Conditions match on alert and asset properties:
- Alert fields - title, message, type, category, severity, source
- Asset fields - hostname, operating system, customer
- Operators - is, is not, and contains
Actions
| Action | What It Does |
|---|---|
| Run Script | Executes a script from your library on the affected device (e.g., restart a service, clear temp files, run a Defender scan) |
| Create Ticket | Opens a ticket under the asset's customer, prefixed with "[Auto]" so you can tell automated tickets apart |
| Send Email | Emails the alert details to the addresses you specify |
| Resolve Alert | Automatically resolves the alert (useful for known-noisy alerts after the fix script runs) |
Safety Controls
- Run once per alert - when checked (the default), the rule fires only once per alert instance instead of re-firing every time the alert re-occurs
- Max runs per asset per day - caps how many times a rule can fire on the same device in one day (default 11), preventing runaway loops
- Enable/disable toggle - turn rules off without deleting them
Execution Log
Every rule execution is logged - which alert triggered it, which actions ran, and whether they succeeded - so you can audit exactly what your automation did and when.
New and edited rules take effect within about 60 seconds - no restart required.
RMM Monitor Tray App
Every managed device gets the RMM Monitor tray app - a small icon in the Windows system tray that gives your customers a one-click way to reach you, branded as your company. The agent installs it automatically and makes sure it's running in the user's session (checked every 10 minutes), and it starts with Windows.
Your Branding
The tray app displays your company name, phone number, and website, uses your custom program icon, and follows your accent color - all configured in Admin Settings > RMM Settings.
What Customers Can Do
- Click the tray icon - opens a support request form. The person enters their name, phone number and email (all required, so you always know who to call back at a business with many users), describes their problem, and can tick a "Send a screenshot" checkbox (unchecked by default). Submitting creates a ticket under the asset's customer with status Customer Reply, so it shows up in your "needs attention" queue immediately. The ticket is pre-filled with the device's details and leads with "Reported by: ...". The reporter is matched against the customer's existing Contacts by email, then phone number (digits only, so formatting differences don't matter), then name; if nobody matches, a new contact is created automatically with ticket email notifications turned on. Either way that contact becomes the ticket's notification contact. The screenshot (if included) is attached to the ticket. (Requires tray v1.6.2, rolled out automatically with agent v1.17.2.)
- Shift+click the tray icon - opens the activity window, a live feed of what the agent has been doing on the device (script runs, deployments, support requests).
- Chat and broadcast notifications - staff chat messages and broadcasts pop a brief self-closing Windows notification. Routine script/deployment completions are intentionally silent (they appear in the activity window instead).
Support requests from the tray arrive as tickets with the right customer and the exact device already linked - no "which computer are you on?" phone tag.
Remote Access
RAD Repairs integrates with two bring-your-own remote access tools: RustDesk and ConnectWise ScreenConnect. Both are configured in the App Center and used straight from the asset detail page.
RustDesk (Self-Hosted)
- Stand up your own RustDesk server (hbbs + hbbr), and install the RustDesk client on your technician machine pointed at it (installed, not portable - installation registers the
rustdesk://link the RustDesk button uses) - On that client: Settings > Network > Unlock network settings > Export Server Config, then paste the copied string into App Center > RustDesk > Server Config String. NOTE: delete any leading
=(equals) signs - they are just padding, not part of the config string (the field also strips them automatically on save) - Enable Remote Access (RustDesk) on the RMM policies where you want it - the agent deploys RustDesk automatically on those assets using RustDesk's official deployment script. For a one-off machine outside those policies, click Install RustDesk on its asset detail page instead
- Click the RustDesk button on any asset detail page to connect - the machine's unattended-access password (set during deployment) is copied to your clipboard automatically; paste it at the prompt and check Remember password for one-click access from then on
ScreenConnect (Bring Your Own Instance)
- Enter your ScreenConnect instance URL in App Center > ScreenConnect (cloud instances and self-hosted/on-premise instances with a custom port both work)
- To roll it out fleet-wide, enable Remote Access (ScreenConnect) on the RMM policies where you want it - endpoints governed by those policies get the access agent installed automatically, retried every 30 minutes until it lands (same as RustDesk). For a one-off machine, click Install ScreenConnect on its asset detail page instead
- Once installed, the button becomes ScreenConnect and joins that device's session directly - your Host page opens and auto-launches the connection
If RustDesk or ScreenConnect is removed from a device outside of RAD Repairs, the platform notices during the hourly software inventory sync and resets that asset's button back to its "Install" state automatically - no stale remote-access buttons pointing at dead sessions.
RAD Repairs does not include a remote access server. You need your own RustDesk server or ScreenConnect instance/license. Splashtop, TeamViewer, and AnyDesk are not integrated.
Cloud Backup (Comet)
Offer managed cloud backup to your RMM customers using your own Comet Backup server. Configure your Comet Server URL and admin credentials in App Center > Comet Backup (credentials are stored encrypted).
How It Works
- Opt-in at installer creation - the cloud backup question is asked every time an installer is generated (by staff or via the customer portal). Only devices enrolled with a backup-enabled installer get the backup client; existing assets are never changed.
- Automatic provisioning - one Comet user account is created per customer, and the backup client is deployed automatically to opted-in devices as they enroll
- Status monitoring - backup job status is polled every 30 minutes; each asset's detail page shows a backup badge (Backup OK with last backup date, Backup FAILED, or opted in / not installed)
- Retry install - if a device opted in but the client didn't install, an Install Backup button on the asset page redeploys it
- Failure alerts - backup failures raise alerts, and you can optionally have tickets created automatically for them
- Billing data - per-customer backup device counts are tracked so you can bill for backup seats
Automated Cleanup
When you delete an asset or customer, their Comet backup devices and user account aren't removed immediately - cleanup is scheduled after a configurable buffer (90 days by default) so data isn't lost if the deletion was a mistake. Pending cleanups are listed and can be cancelled, and a cleanup is cancelled automatically if the device re-registers.
Software Inventory & Missing Patches
During each hourly hardware sync, the agent collects the device's installed software list and its missing Windows updates. This data powers three fleet-wide reports on the Reports page:
- Software Inventory - every installed application across your managed endpoints, with version and publisher
- Missing Patches by KB - which Windows updates are missing fleet-wide, grouped by KB number with severity and affected devices
- Vulnerable Systems - at-risk devices ranked by missing critical/important patches and staleness
Missing patches are reported so you can see fleet exposure. The RMM does not push or install patches itself - use policy Windows Update settings and scripts for update management.
Asset Information
View hardware and system information for managed devices from the Asset detail page.
Collected Information
For each managed asset, the agent collects and displays:
- System Information - OS version, hostname, serial number, model, last user, last boot time
- CPU Details - Processor name, manufacturer, cores, logical cores, max clock speed
- Memory - Total RAM, installed DIMMs
- Storage - Physical and logical drives with capacity and free space
- Network - Local and public IP addresses
See the Assets page for full details on the asset list and detail views, including archiving assets and uninstalling agents.
Frequently Asked Questions
How do I install the RMM agent on customer devices?
Open the customer in the Customers page, click the RMM button, pick a plan (and answer the cloud backup question), then download the EXE installer or the PowerShell mass-deployment script. Run it on the device and it enrolls under that customer automatically.
Does the agent update itself?
Yes. The agent checks for updates every hour and installs new versions automatically after verifying the download's SHA-256 checksum. You never need to manually update agents in the field.
Can I run scripts on devices that are currently offline?
Scripts are queued for execution. If you select "Skip Offline Assets" when running a script, offline devices are excluded. Otherwise, the script is queued and executed when the device comes online. Online devices execute instantly via the WebSocket connection.
What happens if a script takes too long to run?
Scripts have a configurable timeout (default 300 seconds / 5 minutes). If a script exceeds the timeout, it's terminated and marked as "Timeout" in the results. You can increase the timeout up to 3600 seconds (1 hour) when creating or editing the script.
Can I edit built-in scripts?
Built-in scripts cannot be edited directly. To customize a built-in script, use the "Clone" button to create a copy that you can modify.
How do customers ask for help on a managed device?
They click the RMM Monitor icon in their system tray, describe the problem, and optionally include a screenshot. That creates a ticket with status "Customer Reply" under their account with the device already linked.
Can alerts fix themselves automatically?
Yes - use the Remediation page to create rules. When an alert matches all of a rule's conditions, the rule can run a fix script on the device, open an "[Auto]" ticket, send an email, and/or resolve the alert. Safety caps prevent runaway automation.
How do I assign a policy to a customer?
Edit the customer record and select the desired policy. All of that customer's assets inherit it unless a folder-level or asset-level policy overrides it.
What are runtime variables?
Runtime variables allow users to provide input values when running a script. Define variables (text, number, dropdown, checkbox, or password) in the script editor, then use $VariableName in your script code to reference them.
Does the RMM support Mac or Linux?
Not currently - the agent is Windows only, delivered as an EXE installer or PowerShell deployment script.
Related Documentation
 Reports
 Admin Settings
 Customers
 Tickets
Need Help?
Have questions about RMM setup or configuration? Contact our support team for assistance.
Contact Support