Security Settings
Protect your RAD Repairs account and data with two-factor authentication, session controls, an active-sessions view, and an IP whitelist for logins.
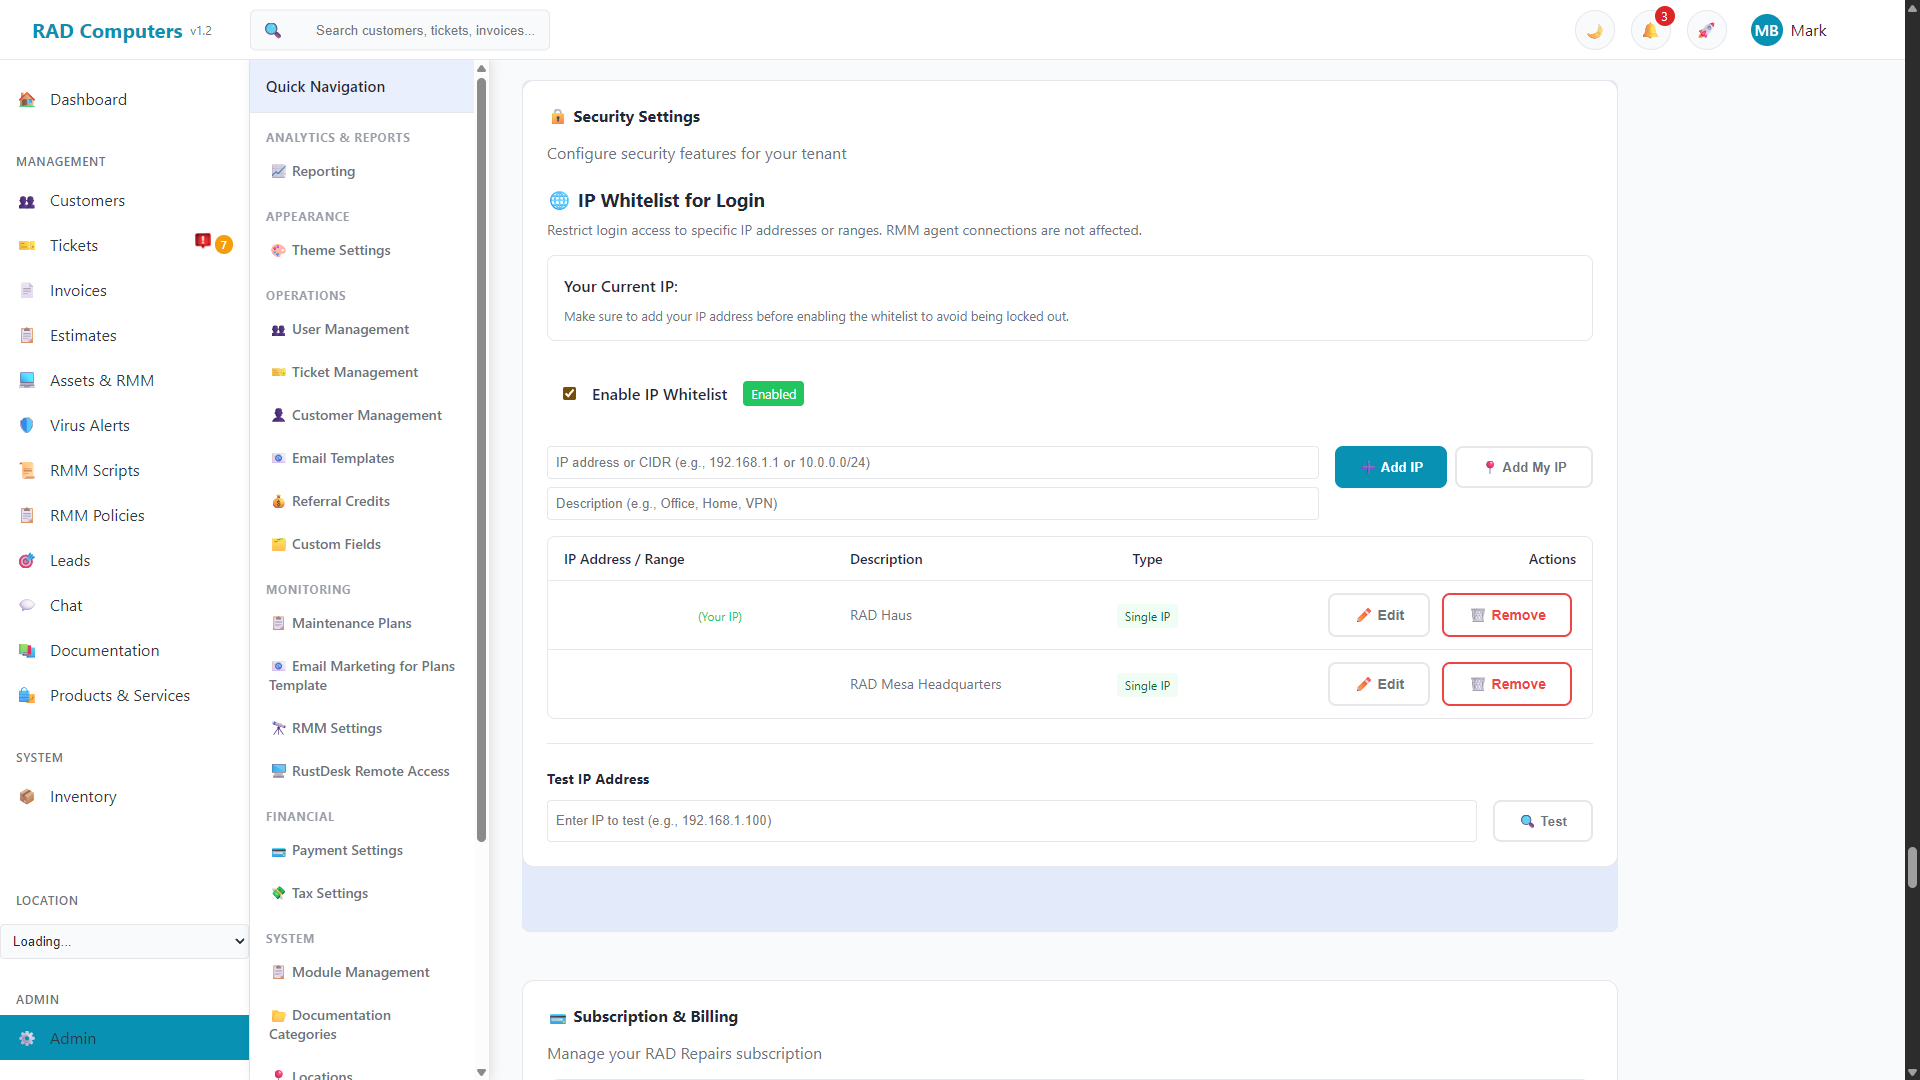
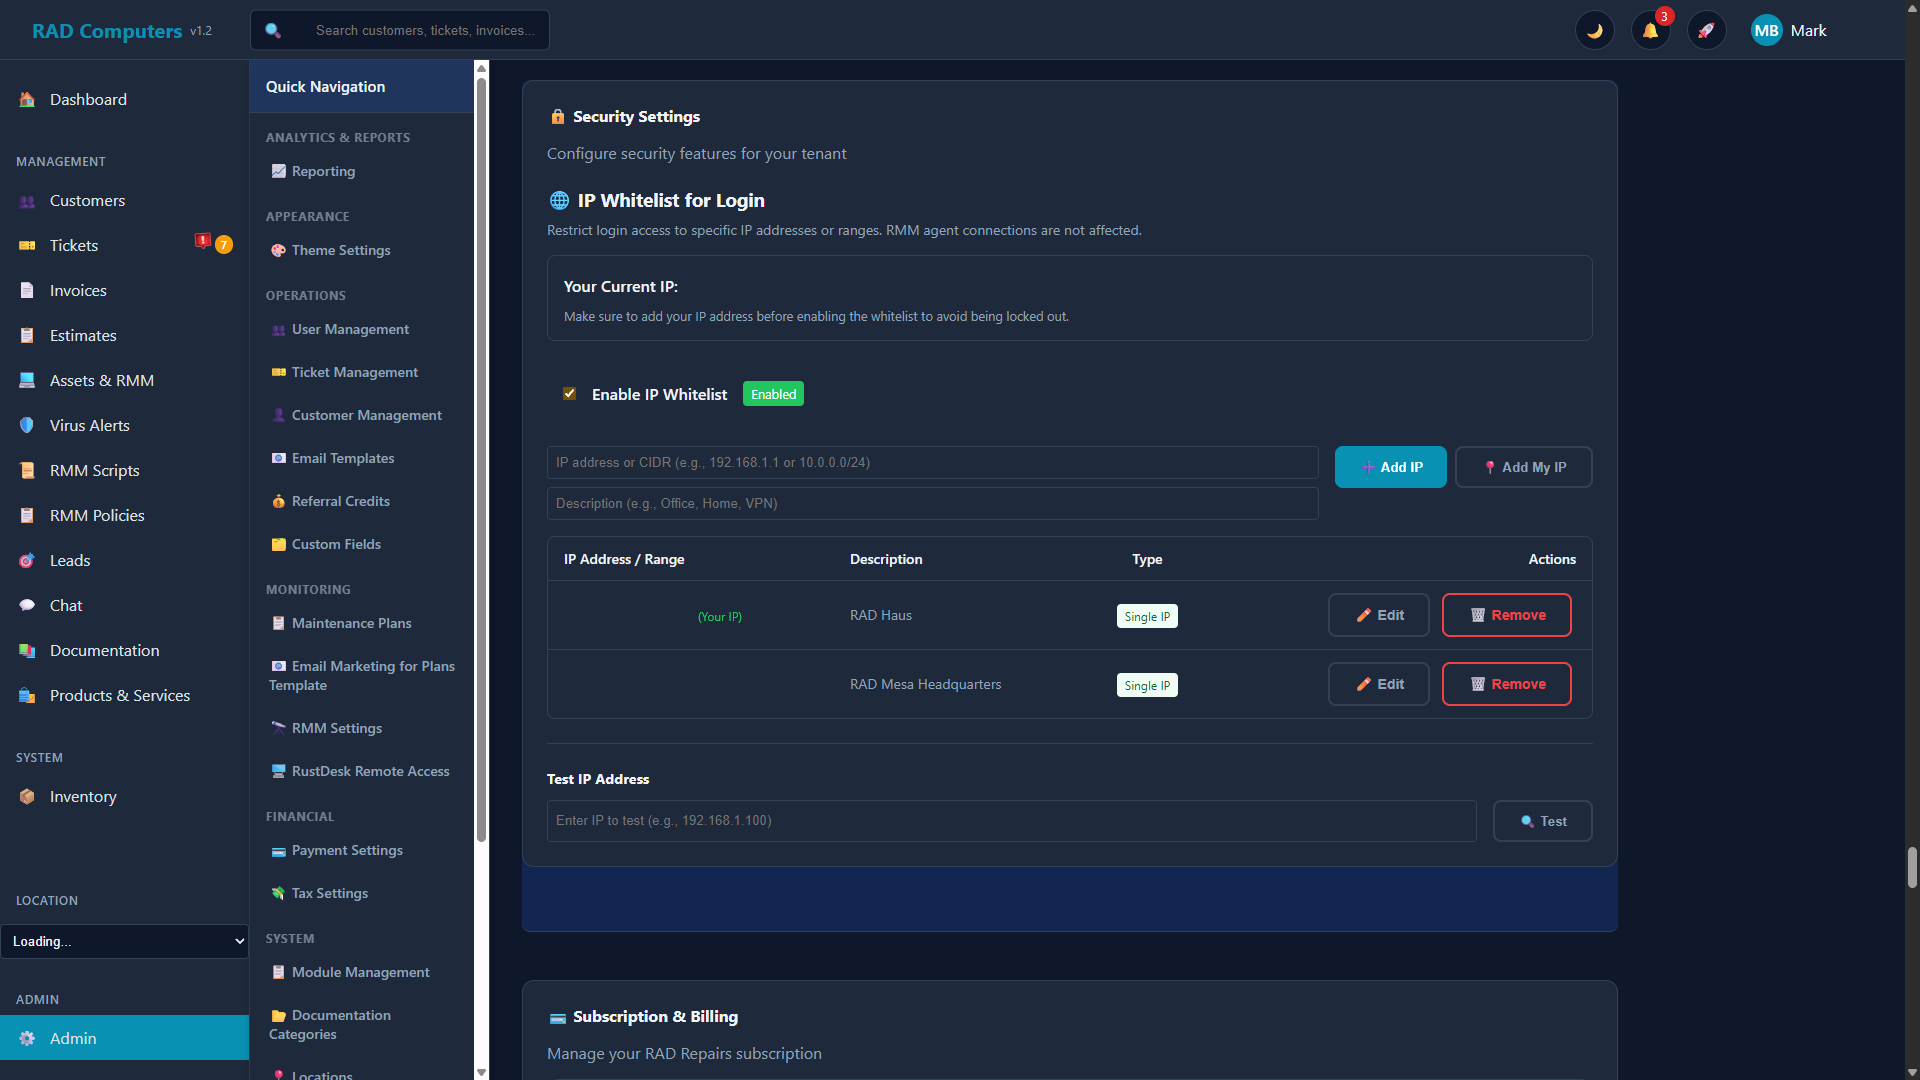
The Security Settings panel provides centralized control over authentication and access policies
Overview of Security Features
RAD Repairs provides multiple layers of security to protect your business data and customer information. The Security Settings section in Admin Settings lets administrators configure:
- Session Duration - How long users stay logged in without activity before re-authenticating
- Max Concurrent Sessions - How many devices a user can be logged in on at once
- Active Sessions - View every active session across devices and terminate any of them
- IP Whitelist for Login - Limit logins to specific IP addresses or ranges
- Customer Credential Export - Owner-only, time-boxed, encrypted export of a single customer's saved credentials for client offboarding (see below)
In addition, RAD Repairs includes two-factor authentication (2FA) per user, a first-login password change flow for new accounts, and built-in rate limiting on login attempts to slow brute-force attacks.
Security Best Practice: We recommend enabling two-factor authentication for all administrator accounts. It significantly reduces the risk of unauthorized access.
Two-Factor Authentication (2FA)
Two-factor authentication adds an additional security layer by requiring users to provide a second form of verification beyond their password. RAD Repairs supports authenticator app-based 2FA using TOTP (Time-based One-Time Passwords). Once enabled, the user is asked for a 6-digit code from their authenticator app every time they log in.
Enabling 2FA for a User
2FA is set up per user from User Management:
Open the User
Go to Admin Settings > User Management and click Edit on the user. The Two-Factor Authentication section shows whether 2FA is currently enabled.
Start Setup
Click Set Up 2FA to begin. A QR code is generated for this user.
Scan QR Code
Open the authenticator app (Google Authenticator, Authy, Microsoft Authenticator, etc.) on the user's phone and scan the displayed QR code.
Verify Setup
Enter the 6-digit code from the authenticator app and click Enable 2FA to confirm the setup is working correctly.
Lost authenticator? If a user loses access to their authenticator app, an administrator can disable 2FA for that user from the same Edit User section so they can log in and set it up again.
First-Login Password Change
New user accounts are created with a temporary password and are required to change it on first login. The first-login flow walks the user through:
- Password - Choose a new password. It must be at least 8 characters and contain a lowercase letter, an uppercase letter, and a number.
- 2FA Setup - When required, scan the QR code with an authenticator app and verify a 6-digit code.
- Complete - The user is signed in with their new credentials.
Session Management
Control user session behavior to balance security with user convenience. Both settings save automatically when changed.
Session Duration
How long users stay logged in without activity before requiring re-authentication. Choose from 30 minutes up to 1 month; the default is 8 hours.
Max Concurrent Sessions
The maximum number of devices a user can be logged in on simultaneously. Choose 1, 2, 3, 5 (the default), 10, or Unlimited.
Active Sessions
The Active Sessions list shows all currently active user sessions across devices. From here administrators can:
- See who is logged in and from where
- Click Refresh to update the list
- Click Terminate on any session to log that device out immediately
- Terminate all of a user's sessions at once, logging them out everywhere
IP Whitelist for Login
Restrict login access to specific IP addresses or ranges. This is particularly useful for businesses with static IP addresses that want office-only access. RMM agent connections are not affected by the whitelist.
Setting Up the Whitelist
Check Your Current IP
The section shows Your Current IP at the top. Add it to the whitelist first - the Add My IP button does this in one click.
Add Allowed IPs
Enter individual IP addresses (e.g., 192.168.1.1) or ranges in CIDR notation (e.g., 10.0.0.0/24), each with an optional description like "Office", "Home", or "VPN", and click Add IP.
Enable the Whitelist
Turn on Enable IP Whitelist. If your current IP is not in the list, a warning appears - resolve it before enabling to avoid locking yourself out.
Caution: Be careful when configuring IP restrictions. Incorrect settings could lock yourself or your team out of the application. Always add your own IP before enabling the whitelist.
Exporting Customer Credentials
Saved customer credentials are the most sensitive data in the system, so exporting them is locked down rather than being a normal button. It exists for one scenario: handing a departing client their logins when they leave your management services.
- Off by default. Export is only possible while RAD Repairs support has opened a temporary export window for your account (24–72 hours, closes automatically). Contact support to request one.
- Owner only, with 2FA. Only the account owner can export, and two-factor authentication must be enabled on their account. Every export requires re-entering the password plus a fresh authenticator code.
- One customer at a time. There is no bulk or account-wide export. Each customer can be exported once every 24 hours.
- Encrypted output. The download is an AES-256 password-protected ZIP. The password is shown once, is never stored or emailed, and the download link is single-use.
- Audited. Every export is logged (who, which customer, when, from where) and an alert email goes to the account owner and to RAD Repairs.
Step-by-step instructions are on the Customers page → Credentials Tab.
Frequently Asked Questions
What happens if I lose access to my authenticator app?
Contact your administrator - they can disable 2FA on your account from User Management so you can log in, and then set 2FA up again with your new device.
Can I use SMS-based 2FA instead of an authenticator app?
RAD Repairs currently supports authenticator app-based 2FA only. SMS-based 2FA is not available due to security vulnerabilities associated with SMS (SIM swapping attacks, SMS interception).
What happens when a user hits the concurrent session limit?
Logging in on an additional device beyond the limit displaces the oldest session, so the user never has more active sessions than the configured maximum. Set the limit to Unlimited (0) to disable this behavior.
Does the IP whitelist block my RMM agents?
No. The whitelist only applies to user logins. RMM agent connections from customer machines continue to work regardless of the whitelist.
What should I do if I suspect a security breach?
Immediately: 1) Terminate all active sessions from Security Settings, 2) Change your password, 3) Enable 2FA if it is not already on, 4) Contact RAD Repairs support if needed. For serious incidents, consider contacting your IT security team.
Need Help with Security Configuration?
If you have questions about security settings or need assistance configuring your account protection, our support team is here to help.
Contact Support