Payment Settings
RAD Repairs accepts card payments through Stripe, plus QR-code payments via Cash App, Venmo, and Zelle. All payment methods are configured from the App Center, and every payment lands in the customer's payment history.
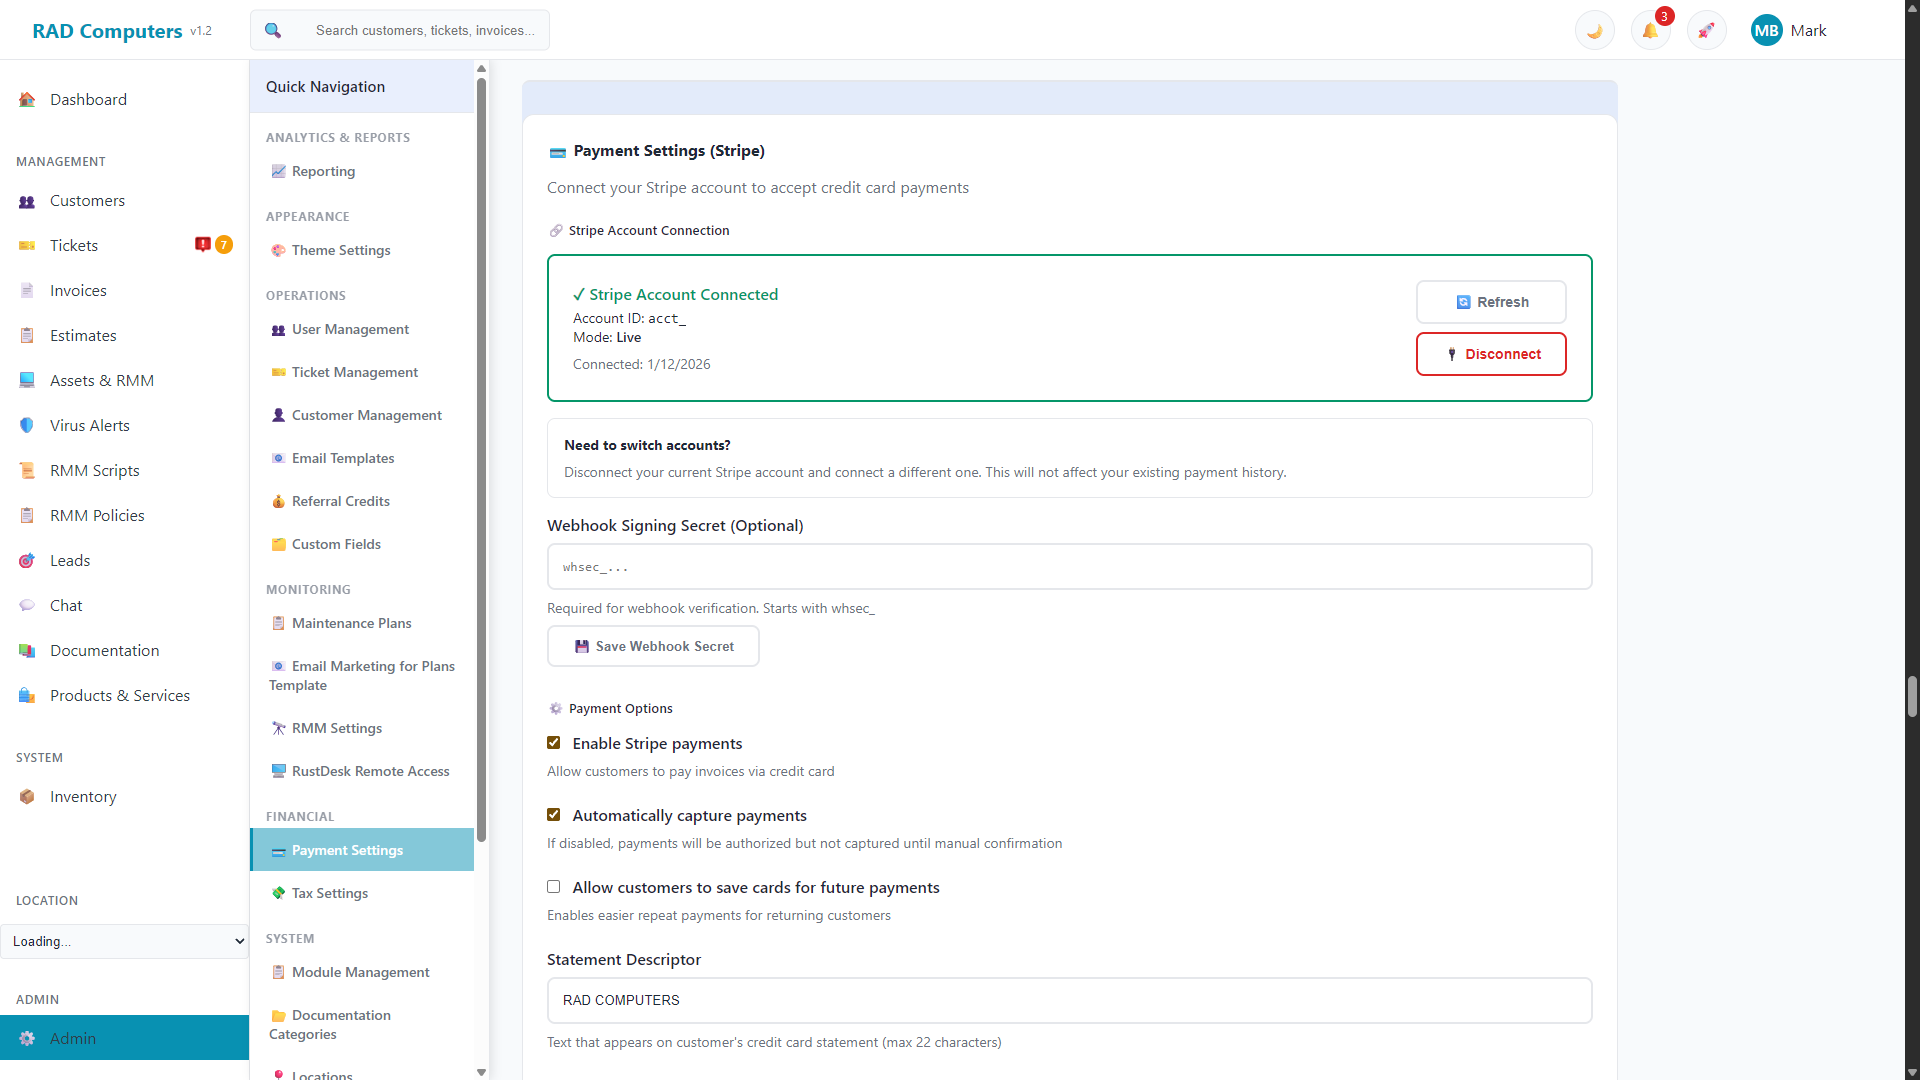
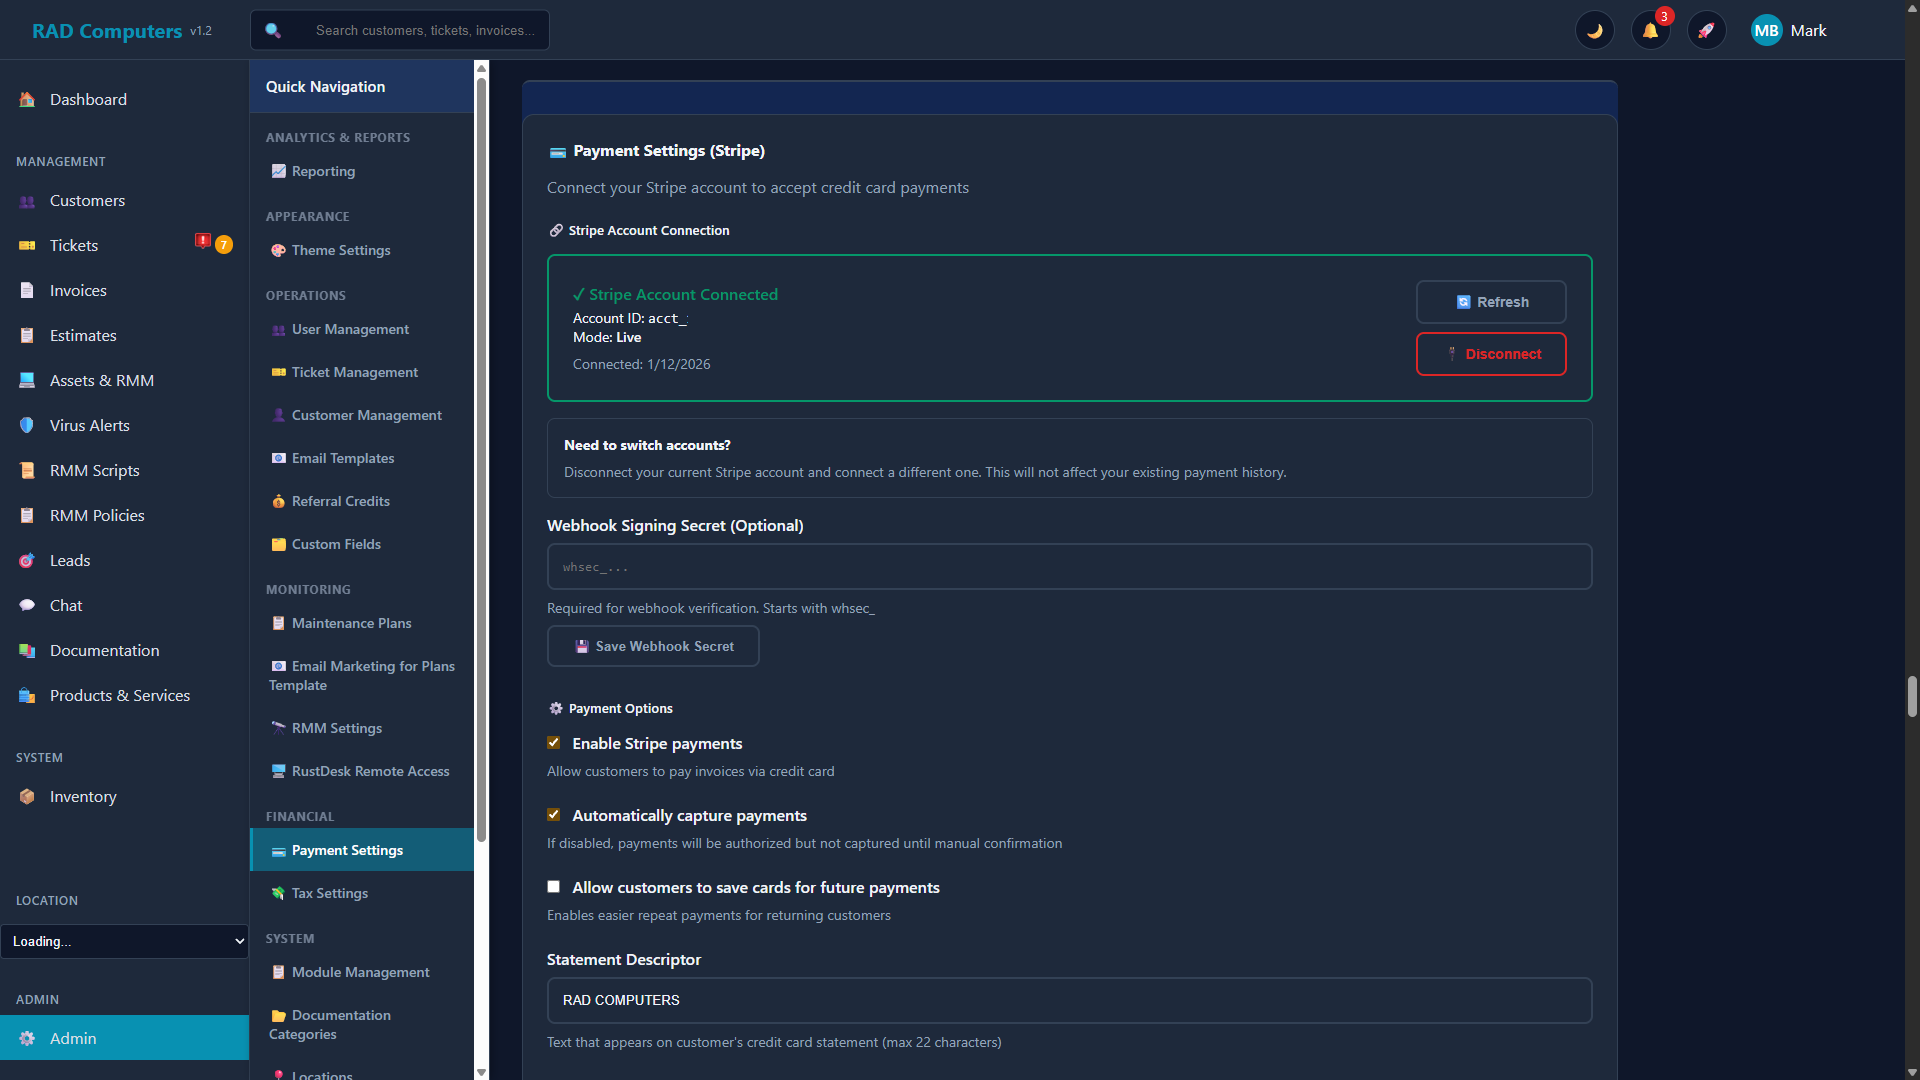
The Stripe payment settings, showing a connected Stripe account, webhook signing secret, and payment options
Overview of Payment Processing
Payment methods are set up from the App Center page in the main sidebar. Each payment method has its own configuration page:
| Method | How it works | Where to configure |
|---|---|---|
| Stripe | Online credit/debit card payments, taken by staff or paid by the customer through the customer portal | App Center > Stripe Payments |
| Cash App | Scannable QR code with your Cashtag; the invoice amount is pre-filled for the customer | App Center > Cash App |
| Venmo | Scannable QR code with your Venmo Business Profile username; amount and invoice note are pre-filled | App Center > Venmo |
| Zelle | QR code (uploaded from your banking app) plus your Zelle email/phone; the customer enters the amount manually | App Center > Zelle |
| Manual (cash, check, etc.) | Recorded directly on the invoice - no configuration needed | N/A |
Key benefits of using Stripe with RAD Repairs:
- PCI Compliance - Stripe handles all sensitive card data, keeping your business PCI compliant
- Multiple Payment Methods - Accept Visa, Mastercard, American Express, Discover, and more
- Automatic Invoice Updates - Invoices are automatically marked as paid when payment succeeds
- Partial Payments - Staff and portal customers can pay less than the full balance
- Easy Refunds - Process full or partial refunds directly from RAD Repairs
- Customer Portal Payments - Customers can pay their invoices online without calling in
Connecting Stripe (Stripe Connect)
RAD Repairs uses Stripe Connect - you connect your Stripe account with a few clicks. There are no API keys to copy.
Create a Stripe Account
If you do not have a Stripe account, visit stripe.com and sign up. You will need to provide business information and bank account details for payouts.
Open the Stripe Payments App
Go to App Center > Stripe Payments. The connection status at the top shows whether an account is currently connected.
Click "Connect with Stripe"
You are sent to Stripe to authorize the connection. Sign in to your Stripe account and approve access. When you return, the page shows Stripe Account Connected with your account ID, mode, and connection date. Your keys are configured automatically.
Configure Webhook (Optional)
For real-time payment updates, add the webhook shown on the page to your Stripe Dashboard and save the signing secret in RAD Repairs. See Webhook Configuration below.
Switching or Disconnecting Accounts
To use a different Stripe account, click Disconnect on the Stripe Payments page and then connect the new account. Disconnecting does not affect your existing payment history. A Refresh button re-checks the connection status at any time.
Stripe Payment Options
The Stripe Payments page includes these options:
- Enable Stripe payments - Allow customers to pay invoices via credit card
- Automatically capture payments - If disabled, payments are authorized but not captured until you confirm them manually
- Allow customers to save cards for future payments - Enables easier repeat payments for returning customers (cards are stored by Stripe, not RAD Repairs)
- Statement Descriptor - The text that appears on the customer's credit card statement (max 22 characters)
- Currency - USD, CAD, EUR, or GBP
Payment Notifications
Configure these in the Payment Notifications section of the Stripe Payments page:
- Send email receipts after successful payments - Automatically email customers their payment receipt
- Notify staff of failed payments - Alert your team when a payment attempt fails
- Staff Notification Email - The address failure notifications are sent to
Webhook Configuration
For real-time payment updates, configure a webhook in your Stripe Dashboard:
- Go to Developers > Webhooks in Stripe
- Click Add endpoint
- Enter the webhook URL shown on the Stripe Payments page (it ends with
/api/v1/stripe/webhook) - Select events to listen for:
payment_intent.succeededpayment_intent.payment_failedcharge.refundedcustomer.created
- Copy the webhook signing secret (starts with
whsec_) and save it in the Webhook Signing Secret field on the Stripe Payments page
Cash App, Venmo, and Zelle (QR Payments)
These peer-to-peer payment methods show a scannable QR code when taking payment on an invoice. After the customer confirms the payment in their app, staff click Record Payment to log it on the invoice.
Cash App
- Enable Cash App and enter your Cashtag (without the $ prefix) on the App Center Cash App page
- The QR code includes your Cashtag and the invoice amount, so the amount is pre-filled for the customer
- A live QR preview on the page shows how it will look
Venmo
- Enable Venmo and enter your Venmo Business Profile username (without the @ symbol)
- The QR code pre-fills the amount and invoice note
Important: The Venmo username must be a Business Profile username, not your personal handle. Venmo blocks purchase payments to personal accounts, so customers scanning a QR code for a personal handle will get an error. Business Profiles are free to create in the Venmo app and get their own @username.
Zelle
- Enable Zelle and enter the email or phone number registered with Zelle through your bank
- Optionally upload the Zelle QR code image from your banking app for a scannable experience
- Unlike Cash App and Venmo, the QR code only identifies your account - the customer must type the payment amount manually in their banking app
Partial Payments
Invoices do not have to be paid in full at once:
- Staff: when taking a payment on an invoice, edit the Amount to Pay field to a lower amount to take a partial payment.
- Customers: in the customer portal, customers can also choose to pay less than the full balance.
A partially paid invoice shows a Partial status until the remaining balance is collected. All payments, from any method, appear in the customer's payment history.
Refund Handling
Refunds can be full or partial and are issued directly from the invoice. Any paid invoice with a refundable balance shows a Refund button.
Processing a Refund
Navigate to the Invoice
Open the paid (or partially paid) invoice you want to refund and click the Refund button.
Enter the Refund Amount
The refund window shows the amount paid, any amount already refunded, and the remaining refundable balance. Enter the amount to refund - full or partial.
Choose the Refund Method
Original Card (Stripe refund) sends the money back to the customer's card through Stripe. Store Credit adds the amount to the customer's store credit balance. Cash, check, Zelle, and similar methods only record the refund - you hand the money back separately.
Confirm the Refund
Optionally add a note explaining the refund, then click Process Refund. The invoice tracks the refunded amount, and a full refund changes the invoice status to Refunded. The refund also appears in the customer's payment history.
Note: Stripe refunds typically take 5-10 business days to appear on the customer's statement, depending on their bank. Stripe processing fees are not returned on refunds.
Tracking Payment Activity
Every payment and refund - Stripe, Cash App, Venmo, Zelle, store credit, or manual - is recorded in the customer's payment history, visible on the customer's profile. Refunds appear as their own entries so the ledger always tells the full story.
Stripe Dashboard
For detailed card-payment reporting and analytics, log into your Stripe Dashboard directly. Stripe provides comprehensive reporting tools including:
- Balance history and payout tracking
- Dispute and chargeback management
- Customer payment history
- Tax reporting and 1099 forms
Frequently Asked Questions
What are Stripe's processing fees?
Stripe charges 2.9% + $0.30 per successful card charge in the US. International cards and currency conversion may incur additional fees. Check Stripe's pricing page for the most current rates.
How long until I receive my money?
Stripe's standard payout schedule is 2 business days in the US. New accounts may have a longer initial payout delay (7-14 days) while Stripe verifies your business. Cash App, Venmo, and Zelle payments go directly to your accounts with those services.
Can customers save their card for future payments?
Yes, if you enable Allow customers to save cards for future payments on the Stripe Payments page. Card details are stored securely by Stripe, not in RAD Repairs.
What happens if a payment fails?
If a payment fails, the invoice remains unpaid and staff can be notified (if failure notifications are enabled). The customer can try again with a different card or payment method.
How do I handle chargebacks/disputes?
Chargebacks are handled through your Stripe Dashboard. When a customer disputes a charge, Stripe will notify you and provide tools to submit evidence. RAD Repairs records are available to help you respond to disputes.
Can I accept payments without Stripe?
Yes. You can accept Cash App, Venmo, and Zelle payments via QR codes, and record manual payments (cash, check, bank transfer) directly on invoices. Stripe is only required for online card payments.
Is my customer's card data stored in RAD Repairs?
No, sensitive card data is never stored in RAD Repairs. All card information is handled and stored securely by Stripe, keeping your business PCI compliant without additional effort.
Do QR payments update the invoice automatically?
No. Cash App, Venmo, and Zelle payments happen in the customer's own app, so RAD Repairs cannot detect them automatically. After the customer confirms the payment, staff click Record Payment on the invoice to log it.
Need Help with Payment Setup?
If you have questions about configuring Stripe or need assistance with payment processing, our support team is ready to help.
Contact Support