User Management
Manage your team's access to RAD Repairs by creating user accounts, assigning roles with specific permissions, and configuring security settings like two-factor authentication.
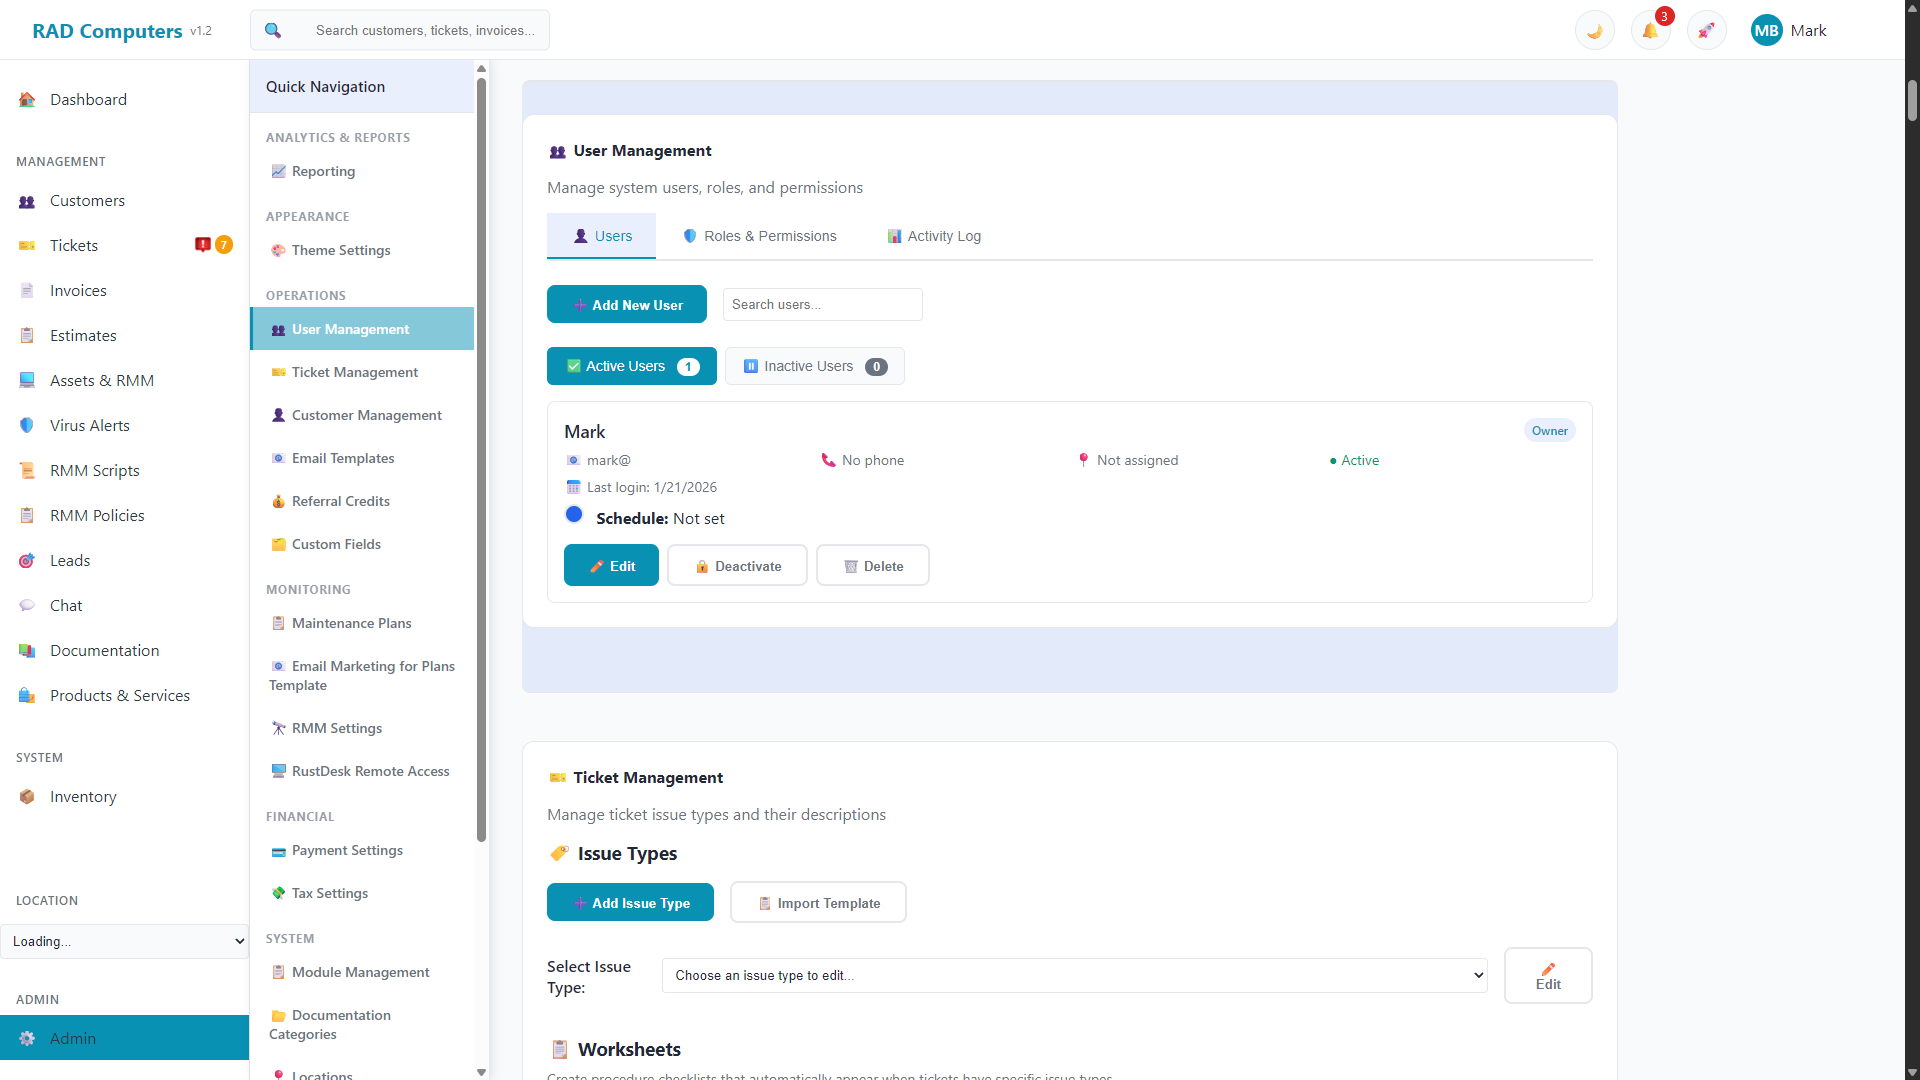
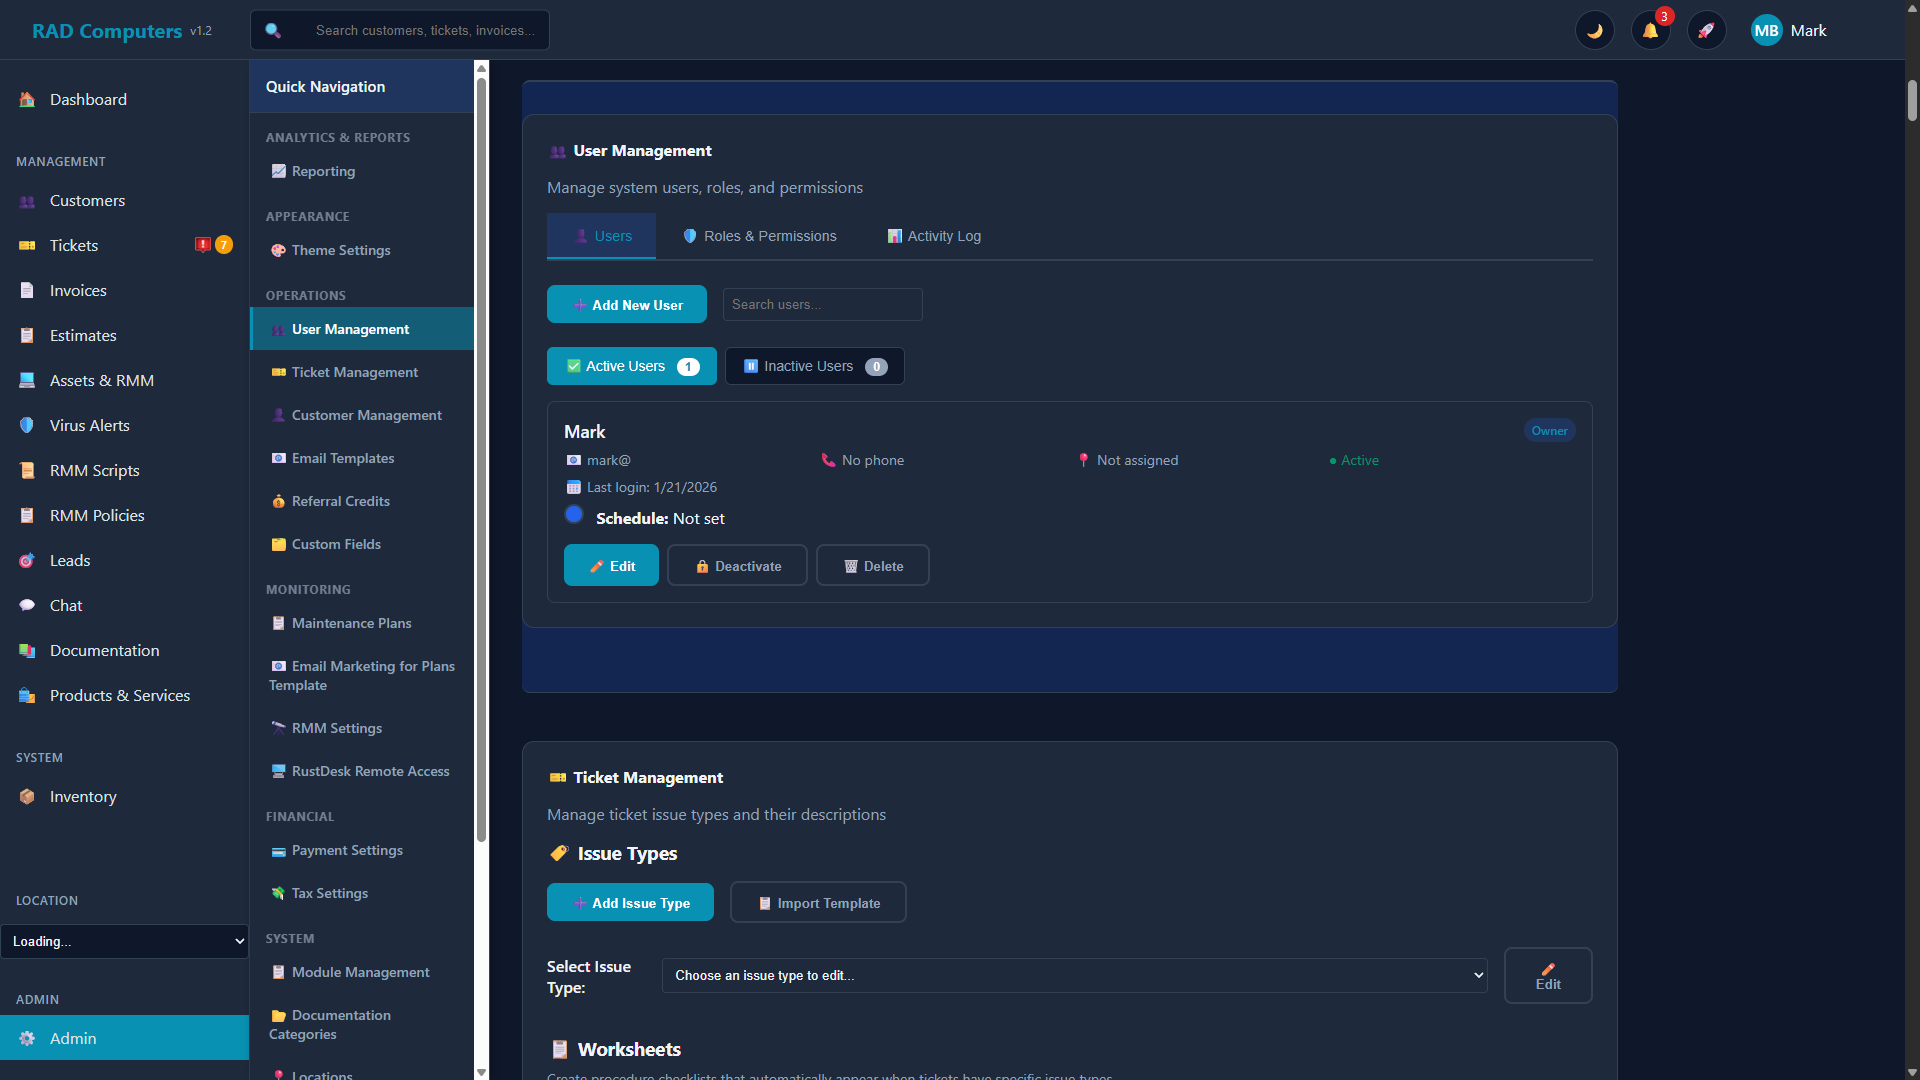
The User Management interface showing the list of users and their roles
Overview
The User Management section allows administrators to control who has access to the RAD Repairs system and what they can do within it. Each user is assigned a role that determines their permissions throughout the application.
Key capabilities include:
- User Account Creation - Add new team members with their email and temporary password
- Role Assignment - Assign appropriate access levels based on job responsibilities
- Location Restrictions - Limit users to specific shop locations
- Security Controls - Enable two-factor authentication and manage password policies
- Account Management - Edit, disable, or remove user accounts as needed
User Roles and Permissions
RAD Repairs uses a role-based access control system. Each user is assigned a role, and that role determines their permissions throughout the application. The system includes four built-in roles and supports creating custom roles with any combination of permissions.
Owner and Admin users automatically bypass all permission checks and have full access to the system. For other roles, permissions are enforced on every API request. If a user tries to access something they don't have permission for, they'll see a notification: "You don't have permission to do that."
Default Permission Matrix
The table below shows the default permissions for the four built-in roles. Admins and Owners can customize the Admin, Technician, and Accounting roles, and can also create entirely new custom roles.
| Permission | Owner | Admin | Technician | Accounting |
|---|---|---|---|---|
| Dashboard | ||||
| View Dashboard | Yes | Yes | Yes | Yes |
| Customers | ||||
| View Customers | Yes | Yes | Yes | Yes |
| Create Customers | Yes | Yes | Yes | No |
| Edit Customers | Yes | Yes | Yes | No |
| Delete Customers | Yes | Yes | No | No |
| Tickets | ||||
| View Tickets | Yes | Yes | Yes | No |
| Create Tickets | Yes | Yes | Yes | No |
| Edit Tickets | Yes | Yes | Yes | No |
| Delete Tickets | Yes | Yes | No | No |
| Assign Tickets | Yes | Yes | Yes | No |
| Invoices | ||||
| View Invoices | Yes | Yes | Yes | Yes |
| Create Invoices | Yes | Yes | Yes | Yes |
| Edit Invoices | Yes | Yes | Yes | Yes |
| Delete Invoices | Yes | No | No | No |
| Send Invoices | Yes | Yes | Yes | Yes |
| Estimates | ||||
| View Estimates | Yes | Yes | Yes | Yes |
| Create Estimates | Yes | Yes | Yes | No |
| Edit Estimates | Yes | Yes | Yes | No |
| Delete Estimates | Yes | Yes | No | No |
| Inventory & Products | ||||
| View Inventory | Yes | Yes | Yes | No |
| Manage Inventory | Yes | Yes | No | No |
| View Products/Services | Yes | Yes | Yes | Yes |
| Create Products/Services | Yes | Yes | Yes | No |
| Edit Products/Services | Yes | Yes | Yes | No |
| Delete Products/Services | Yes | Yes | No | No |
| Reporting | ||||
| View Reports | Yes | Yes | Yes | Yes |
| Create Reports | Yes | Yes | No | Yes |
| Export Reports | Yes | Yes | No | Yes |
| User Management | ||||
| View Users | Yes | Yes | Yes | No |
| Manage Roles & Permissions | Yes | Yes | No | No |
| Admin Settings | ||||
| View Admin Settings | Yes | Yes | No | No |
| Edit Admin Settings | Yes | Yes | No | No |
| System Settings | Yes | Yes | No | No |
Built-in Role Descriptions:
- Owner - Full system access. This role cannot be modified or deleted.
- Admin - Access to all features except deleting invoices. Permissions can be customized.
- Technician - Access to ticket work, customer management (create/edit but not delete), products/services (create/edit but not delete), invoices, estimates, and reports. Cannot access admin settings. Permissions can be customized.
- Accounting - Access to invoicing, products/services (view), estimates, and reports. Cannot manage tickets or access admin settings. Permissions can be customized.
Custom Roles
In addition to the four built-in roles, you can create custom roles with any combination of permissions to match your team's specific needs.
Creating a Custom Role
- Go to Admin Settings > User Management
- Switch to the Roles & Permissions tab
- Click "Create New Role"
- Enter a Role ID (lowercase, no spaces), display name, and description
- Check the permissions this role should have from the permission categories
- Click "Create Role" to save
Editing a Role
To change the permissions for an existing role (except Owner):
- Navigate to the Roles & Permissions tab
- Click the Edit button on the role you want to modify
- Update the name, description, or permissions as needed
- Click "Update Role" to save
Important: When you change a role's permissions, the update is applied immediately to all users who have that role. Affected users may need to refresh their browser to see the changes.
Deleting a Custom Role
Custom roles can be deleted if no active users are assigned to them. Built-in system roles (Owner, Admin, Technician, Accounting) cannot be deleted.
- First reassign any users on the role to a different role
- Navigate to the Roles & Permissions tab
- Click the Delete button on the custom role
- Confirm the deletion
Adding a New User
To add a new team member to your RAD Repairs account, follow these steps:
Navigate to User Management
Go to Admin Settings and click on "User Management" in the settings menu.
Click "Add User"
Click the "Add User" button in the top right corner of the user list.
Enter User Details
Fill in the required fields: First Name, Last Name, Email Address, and select a Role from the dropdown menu.
Set Initial Password
Create a temporary password for the user. They will be prompted to change it on their first login.
Assign Locations
If you have multiple locations, check the boxes for each location this user should access. Use "All Locations" for float or mobile technicians who need access everywhere.
Save User
Click "Save" to create the user account. The user will receive an email with their login credentials.
Editing User Profiles
To modify an existing user's profile:
- Locate the user in the user list
- Click the Edit button (pencil icon) next to their name
- Update the desired fields (name, email, role, location assignments)
- Click "Save Changes" to apply the updates
Important: Changing a user's role takes effect immediately. The user's permissions are automatically updated to match their new role. They may need to refresh their browser to see the changes.
Resetting Passwords
Administrators can reset passwords for any user account. There are two methods available:
Method 1: Send Password Reset Email
- Find the user in the user list
- Click the dropdown menu (three dots) next to their name
- Select "Send Password Reset Email"
- The user will receive an email with a link to create a new password
Method 2: Set New Password Manually
- Click the Edit button next to the user's name
- Click "Change Password" in the edit dialog
- Enter a new temporary password
- Check "Require password change on next login" if desired
- Save changes and communicate the new password to the user securely
Disabling User Accounts
When a team member leaves or needs their access revoked, you can disable their account without deleting their data:
- Find the user in the user list
- Click the dropdown menu (three dots) next to their name
- Select "Disable Account"
- Confirm the action in the dialog
Tip: Disabling an account is reversible. The user's data, including their ticket history and time logs, is preserved. You can re-enable the account at any time by selecting "Enable Account" from the same menu.
Deleting Users: Permanently deleting a user account removes all their data and cannot be undone. Only delete accounts if you are certain you no longer need their historical data.
Location Assignments
If your business operates multiple locations, you can assign users to one or more locations. This affects what data they can see and work with.
Multi-Location Assignment
Users can be assigned to multiple locations using the checkbox selection in the user edit dialog:
- Edit the user's profile
- In the "Location Assignments" section, you'll see a list of all locations as checkboxes
- Check the box next to each location the user should have access to
- Use the "All Locations" checkbox to quickly grant access to all locations at once
- Save changes
All Locations Option
The "All Locations" option is ideal for:
- Float Technicians - Staff who rotate between different shop locations
- Mobile Technicians - Field techs who service customers at any location
- Admins / Managers - Those who oversee operations across multiple sites
- Owner - Users who need full visibility across the organization
- Bookkeepers / Accountants - Users who need financial visibility across the organization
Tip: Selecting "All Locations" automatically checks all location boxes. Unchecking any individual location will automatically uncheck "All Locations" as well.
Location Restrictions
When a user is assigned to specific locations (not "All Locations"):
- They can only view tickets from their assigned locations
- They can only see customers associated with their locations
- Reports and dashboard data are filtered to their locations
- They can only assign tickets to technicians at their locations
Note: Administrators always have access to all locations regardless of their individual location assignments.
Two-Factor Authentication
Two-factor authentication (2FA) adds an extra layer of security to user accounts by requiring a second form of verification in addition to the password.
Enabling 2FA for Users
Administrators can require 2FA for all users or allow it to be optional:
- Go to Admin Settings > Security Settings
- Under "Two-Factor Authentication", choose your policy:
- Required for All - All users must enable 2FA
- Required for Admins/Managers - Only admin and manager roles must use 2FA
- Optional - Users can choose to enable 2FA
- Save settings
User 2FA Setup
Users can set up 2FA in their profile settings:
- Click the profile icon in the top right corner
- Select "Security Settings"
- Click "Enable Two-Factor Authentication"
- Scan the QR code with an authenticator app (Google Authenticator, Authy, etc.)
- Enter the verification code to confirm setup
- Save backup codes in a secure location
Backup Codes: Users should save their backup codes securely. If they lose access to their authenticator app, backup codes are the only way to regain access to their account.
Frequently Asked Questions
How many users can I add to my account?
The number of users depends on your subscription plan. Check your plan details in Admin Settings > Subscription & Billing to see your current user limit and upgrade options.
Can I create custom roles with specific permissions?
Yes. Navigate to Admin Settings > User Management > Roles & Permissions to create custom roles with any combination of the 35+ available permissions. You can also customize the built-in Admin, Technician, and Accounting roles.
What happens when a user forgets their password?
Users can click "Forgot Password" on the login page to receive a password reset email. Alternatively, an administrator can reset their password manually from the User Management section.
Can a user have multiple roles?
No, each user can only have one role at a time. If a user needs combined permissions, consider assigning them the higher-level role.
How do I transfer ownership of the admin account?
The account owner can transfer ownership to another admin user in Admin Settings > Subscription & Billing > Transfer Ownership. This cannot be undone without contacting support.
Can I see what actions a user has performed?
Yes, admin users can view the Activity Log in Admin Settings to see a history of user actions including logins, ticket changes, and invoice creations.
Need Help with User Management?
If you have questions about user roles, permissions, or account setup, our support team is here to assist you.
Contact Support