Custom Fields
Custom fields allow you to capture and store additional data specific to your business needs. Add custom data fields to customer and ticket forms, and create Platform Variables - per-customer values you can reference in RMM deployment scripts.
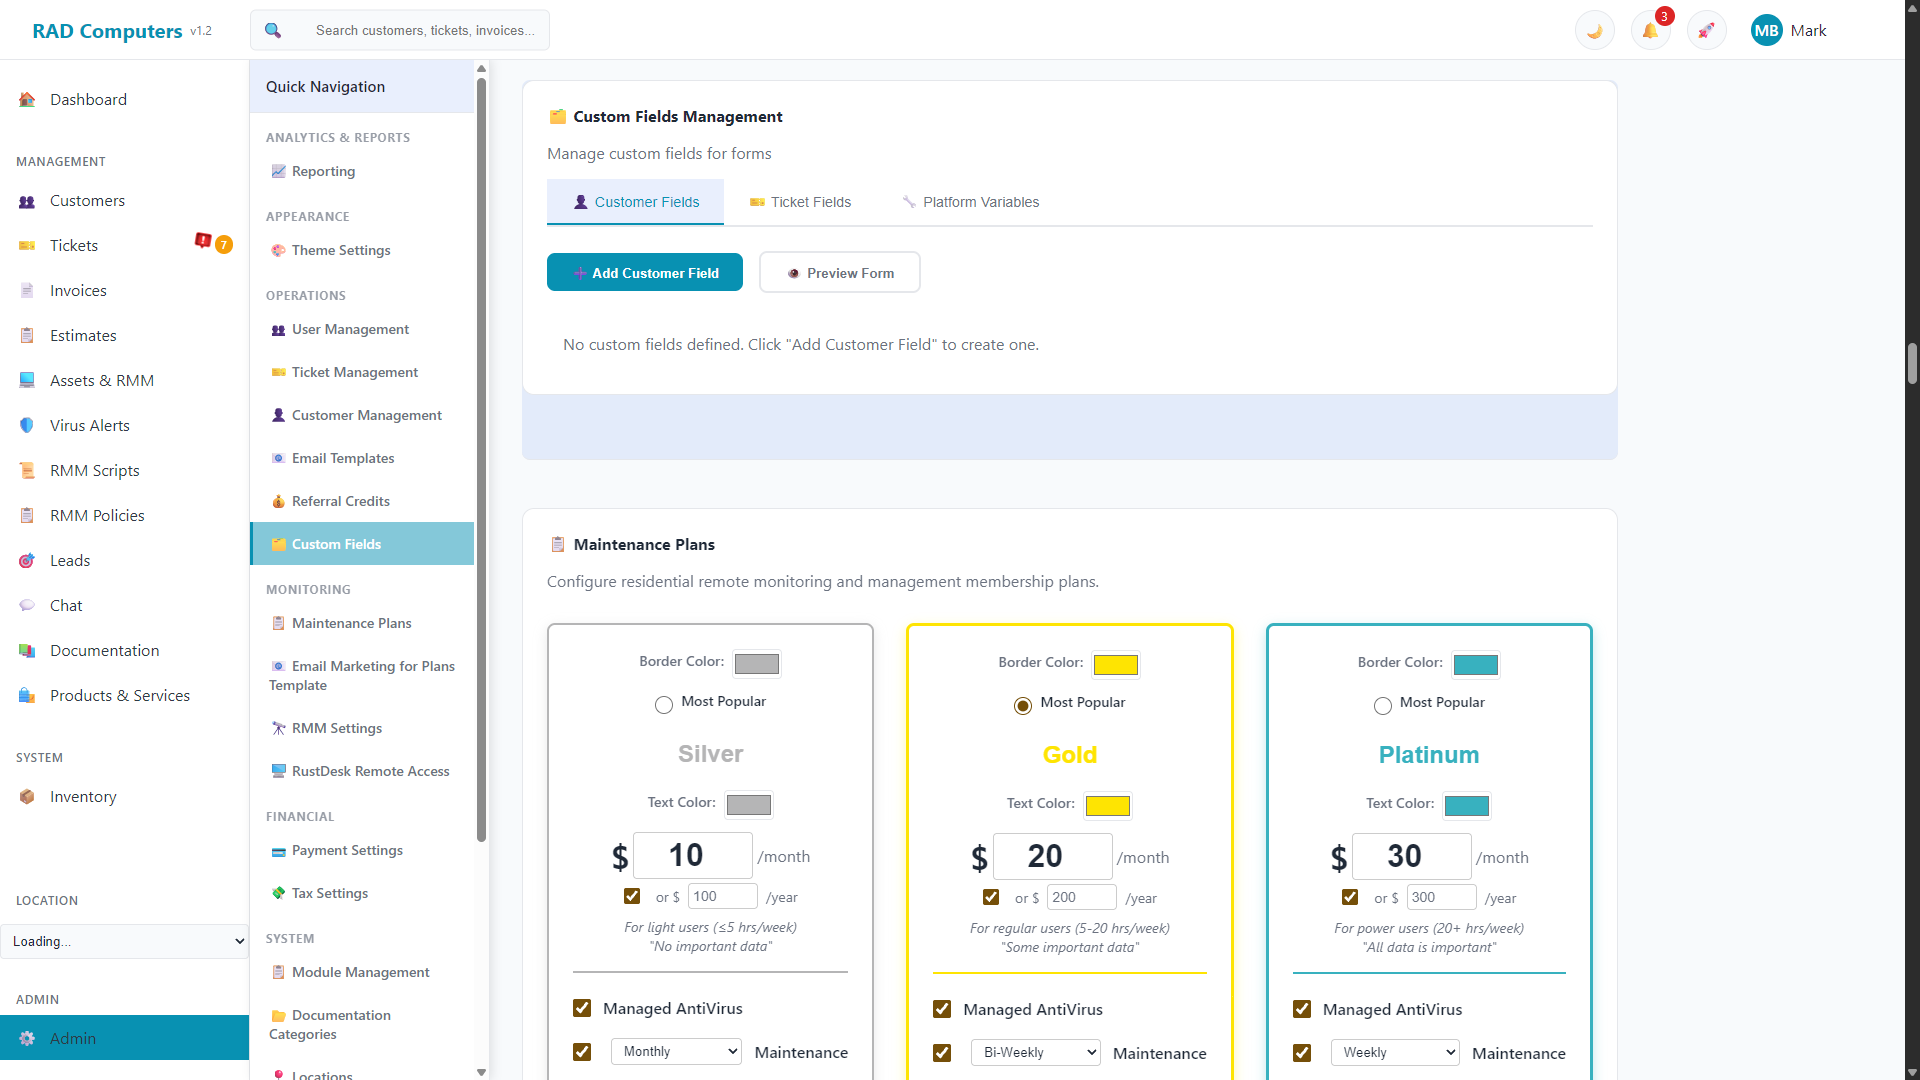
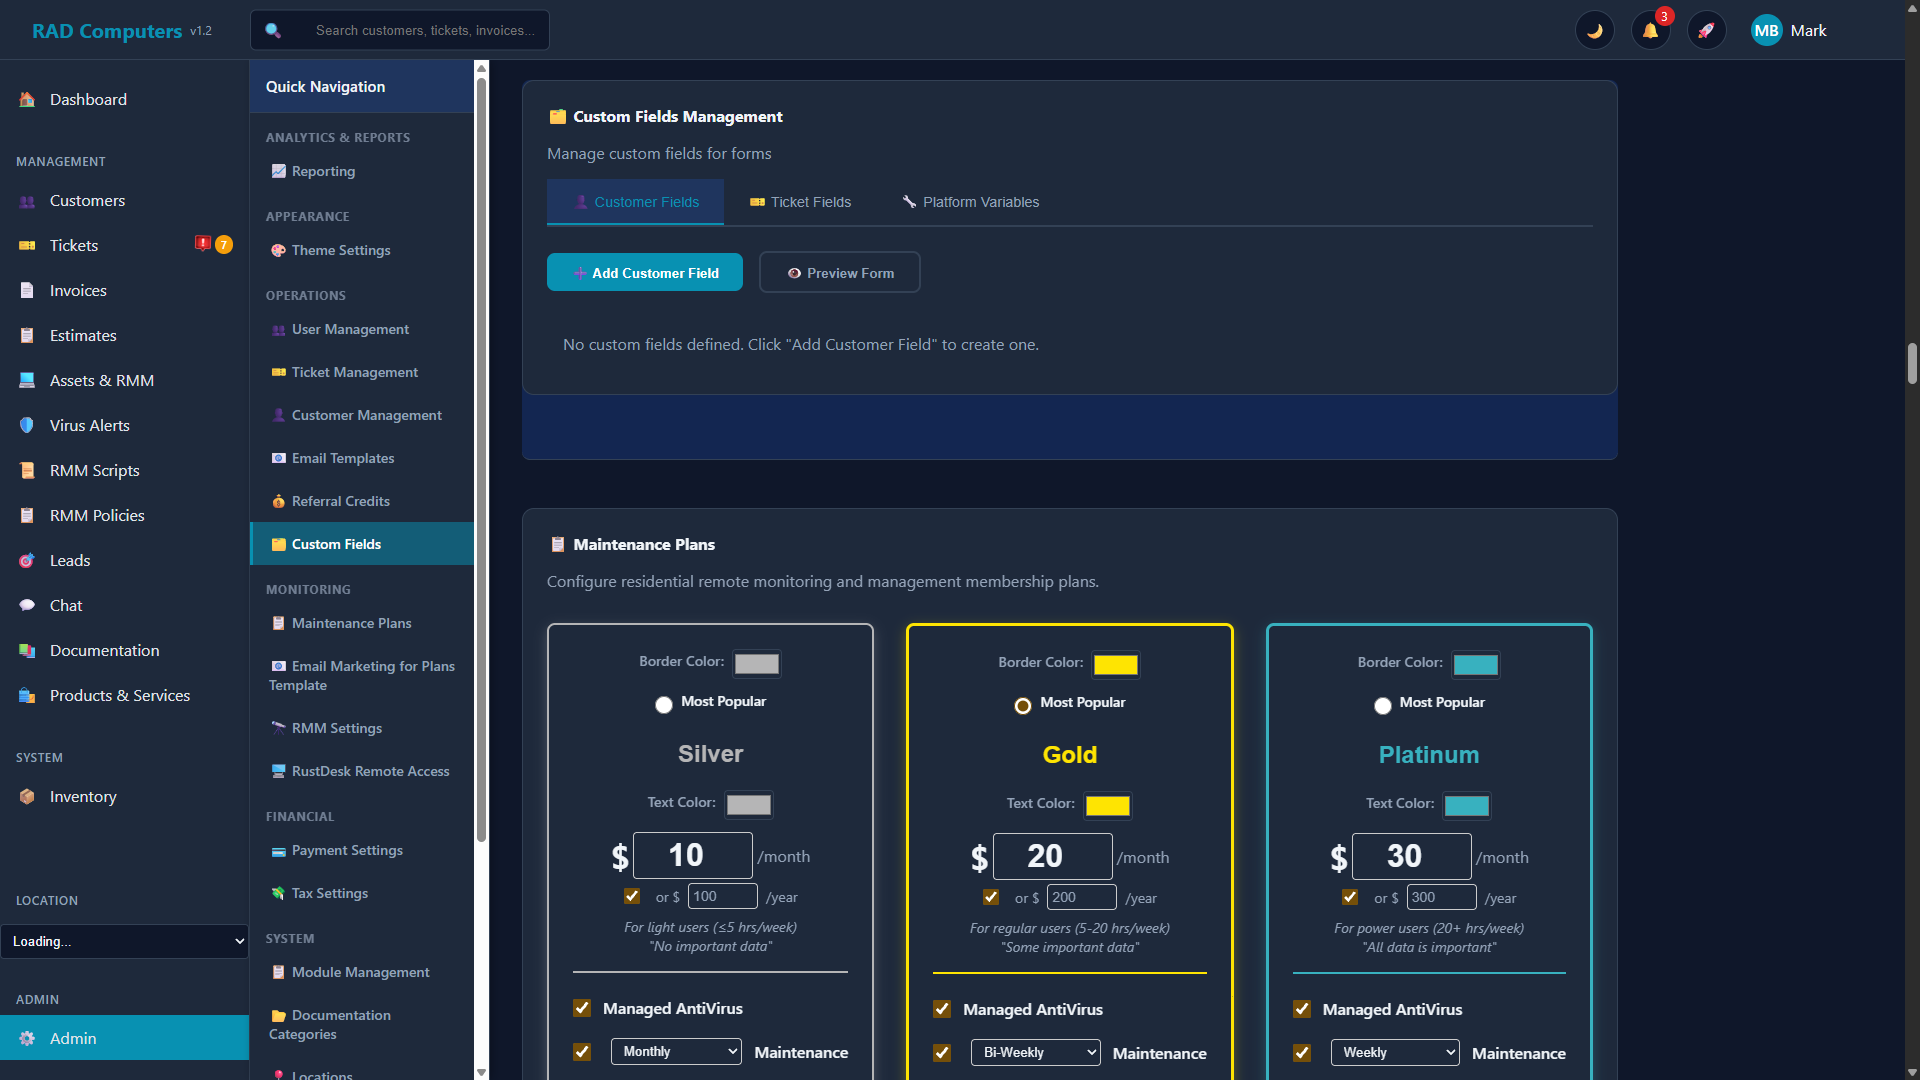
The Custom Fields management interface allows you to create and organize fields for different entity types
Overview
Custom fields extend the data capture capabilities of RAD Repairs beyond the standard built-in fields. The Custom Fields section in Admin Settings has three tabs:
- Customer Fields - Extra fields on the customer forms
- Ticket Fields - Extra fields on the ticket forms
- Platform Variables - Per-customer values (like API keys or site tokens) usable as variables in RMM deployment scripts
Key benefits of custom fields include:
- Flexibility - Capture any type of data specific to your workflow
- Organization - Keep all relevant information in one place
- Consistency - Ensure all staff collect the same information
- Automation - Platform Variables feed per-customer values into your RMM scripts
Auto-save: Changes in the Custom Fields section save automatically - watch for the "Auto-saved" indicator in the top-right corner of the card.
Field Types
When adding a customer or ticket field, you choose a label, a field type, and whether the field is required. The available field types are:
Text / Text Area
Single-line text for short answers, or a multi-line text area for longer notes.
Example: "Business Type", "Special Instructions"
Number
Numeric input for quantities, measurements, or any numerical data.
Example: "Storage Capacity (GB)", "Number of Devices"
Email / Phone
Contact-formatted inputs for capturing additional email addresses or phone numbers.
Example: "Billing Email", "After-Hours Phone"
Date
Date picker for tracking dates such as warranties, appointments, or deadlines.
Example: "Warranty Expiration", "Last Service Date"
Dropdown / Radio Buttons
Selection from a predefined list of options (entered one per line). Ensures consistent data entry.
Example: "Preferred Contact Method", "Warranty Status"
Checkbox
Boolean yes/no field for tracking binary states or confirmations.
Example: "Data Backup Completed", "Has Warranty"
Password
Masked input for values that should not be shown on screen while typing.
Example: "Device Password/PIN"
Adding Custom Fields
Go to Admin Settings > Custom Fields, pick the Customer Fields or Ticket Fields tab, and click Add Customer Field / Add Ticket Field. Each tab maintains its own list of fields, with Edit and Delete buttons on every field. A Preview Form button shows exactly how your fields will look on the real form.
Custom Fields for Customers
Customer custom fields are captured when adding or editing a customer. Common uses include:
- Business information (company size, industry)
- Communication preferences (preferred contact method, best time to call)
- Billing details (tax exempt status, payment terms, account number)
- Marketing data (customer segment, acquisition channel)
Custom Fields for Tickets
Ticket custom fields appear on the ticket creation form. They help capture repair-specific information:
- Device details (password/PIN, storage capacity, accessories included)
- Repair specifics (data backup authorization, cosmetic damage notes)
- Customer approvals (maximum repair cost, data wipe consent)
- Workflow tracking (rush order flag, pickup notification preference)
Security Note: Be cautious when storing sensitive data like passwords in custom fields. Use the Password field type so values are masked while typing, or consider a checkbox confirmation (e.g., "Password provided verbally") instead of storing the actual password.
Platform Variables
Platform Variables are custom fields that appear on every customer record, and their values can be referenced in RMM deployment scripts as variables (for example, $customer_api_key). They are ideal for storing per-customer API keys, site tokens, or configuration values.
When adding a Platform Variable you set:
- Label - The display name shown when editing customer records
- Variable Name - The identifier used in scripts as
$variable_name(lowercase letters, numbers, and underscores only; generated automatically from the label) - Field Type - Text, Password (masked), Text Area, Number, Dropdown, or Checkbox
- Description - Help text shown when editing a customer
- Default Value - Optional default for new customers
- Required - Whether a value must be provided
- Encrypted - Store the value encrypted; recommended for API keys and passwords
Required vs Optional Fields
When creating a custom field, you can specify whether it is required or optional:
| Setting | Behavior | Best Used For |
|---|---|---|
| Required | The form cannot be submitted until this field has a value. Shows a validation error if left empty. | Critical business data, compliance requirements, essential workflow information |
| Optional | The field can be left empty. No validation error on empty values. | Nice-to-have information, fields that do not apply to all records |
Recommendation: Start with optional fields and only make fields required once you are certain the data is essential for every record. Too many required fields can slow down data entry and frustrate users.
Using Custom Fields in Forms
Once created, custom fields automatically appear in the relevant forms throughout the application:
Where Custom Fields Appear
- Customer Fields - The Add Customer form and when editing a customer
- Ticket Fields - The New Ticket form
- Platform Variables - Every customer record, and as
$variable_namevalues in RMM script deployments
Preview before you commit: Use the Preview Form button on the Customer Fields or Ticket Fields tab to see the form exactly as staff will see it, including your custom fields.
Field Input Guidelines
Each field type has specific input behaviors:
- Text fields - Enter free-form text; use Text Area for longer, multi-line notes.
- Number fields - Only numeric values are accepted.
- Dropdown and radio fields - Pick one of the options you defined (entered one per line when creating the field).
- Checkbox fields - Click to toggle between checked and unchecked states.
- Date fields - Click to open the date picker calendar.
- Password fields - Input is masked while typing.
Frequently Asked Questions
Can I edit or delete an existing custom field?
Yes. Every field in the list has Edit and Delete buttons. Editing lets you change the label, type, options, and required setting. Deleting a custom field removes it from the forms.
What happens to existing data if I add a new required field?
Existing records are not affected by new required fields. The required validation only applies when filling out the form - you will need to populate the field on new records.
Is there a limit to how many custom fields I can create?
There is no hard limit on custom fields, but we recommend keeping the total number reasonable (under 20 per tab) for optimal form usability.
How do I use a Platform Variable in an RMM script?
Reference it by its variable name with a dollar sign, e.g. $customer_api_key. When a script runs on an asset, the variable is filled in with the value stored on that asset's customer.
Should I encrypt my Platform Variables?
Enable the Encrypted option for anything sensitive - API keys, passwords, and tokens. Encrypted values are stored encrypted in the database.
Can I create conditional fields that only show based on other field values?
No, conditional field visibility is not supported. All custom fields for a form are always shown.
How do I add options to a dropdown field?
When you choose the Dropdown (or Radio Buttons) type, an Options box appears. Enter one option per line.
Need Help with Custom Fields?
If you need assistance setting up custom fields or have questions about how to structure your data, our support team is here to help.
Contact Support